Inviting & Managing Users
Inviting, Managing and selecting User Roles
INVITING A USER
Step 1: Log in to Your Tether Account
First, log in to your Tether account by visiting https://portal.tether.co.nz/.
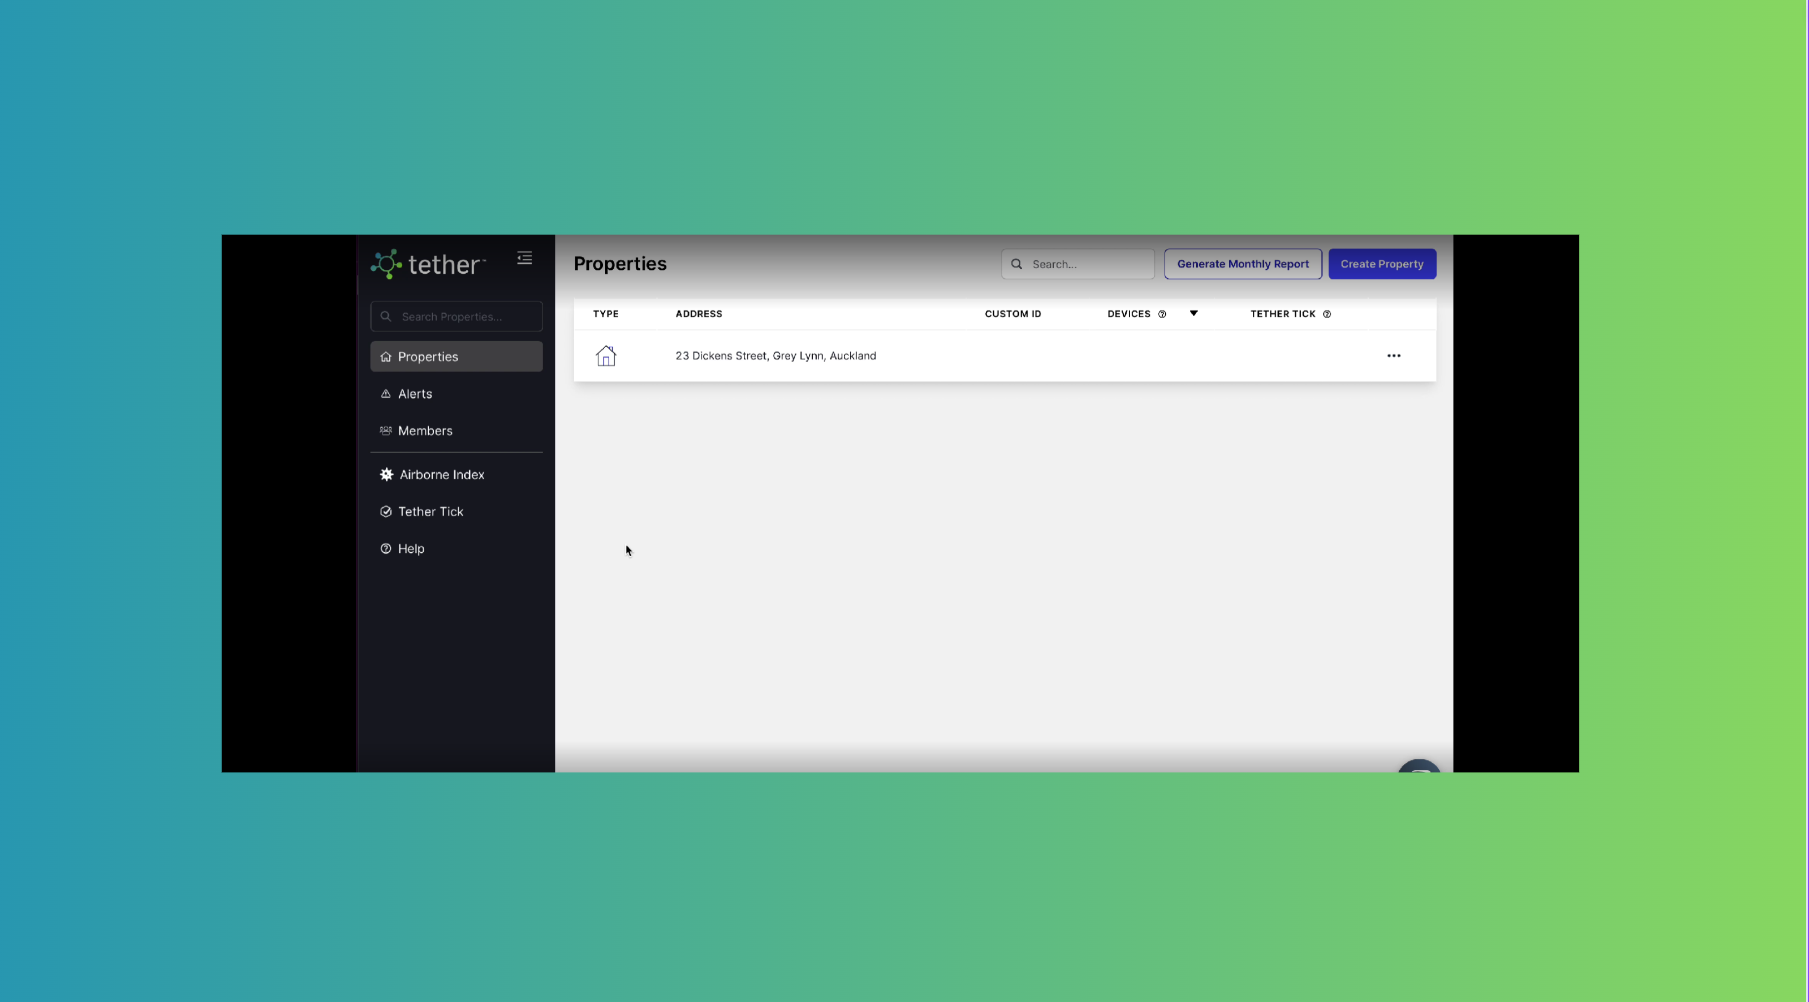
Step 2: Access the Members Section
On the left-hand panel, you'll find various options such as 'Properties', 'Alerts', 'Members', and more. Click on the ‘Members’ section where you want to invite team members.
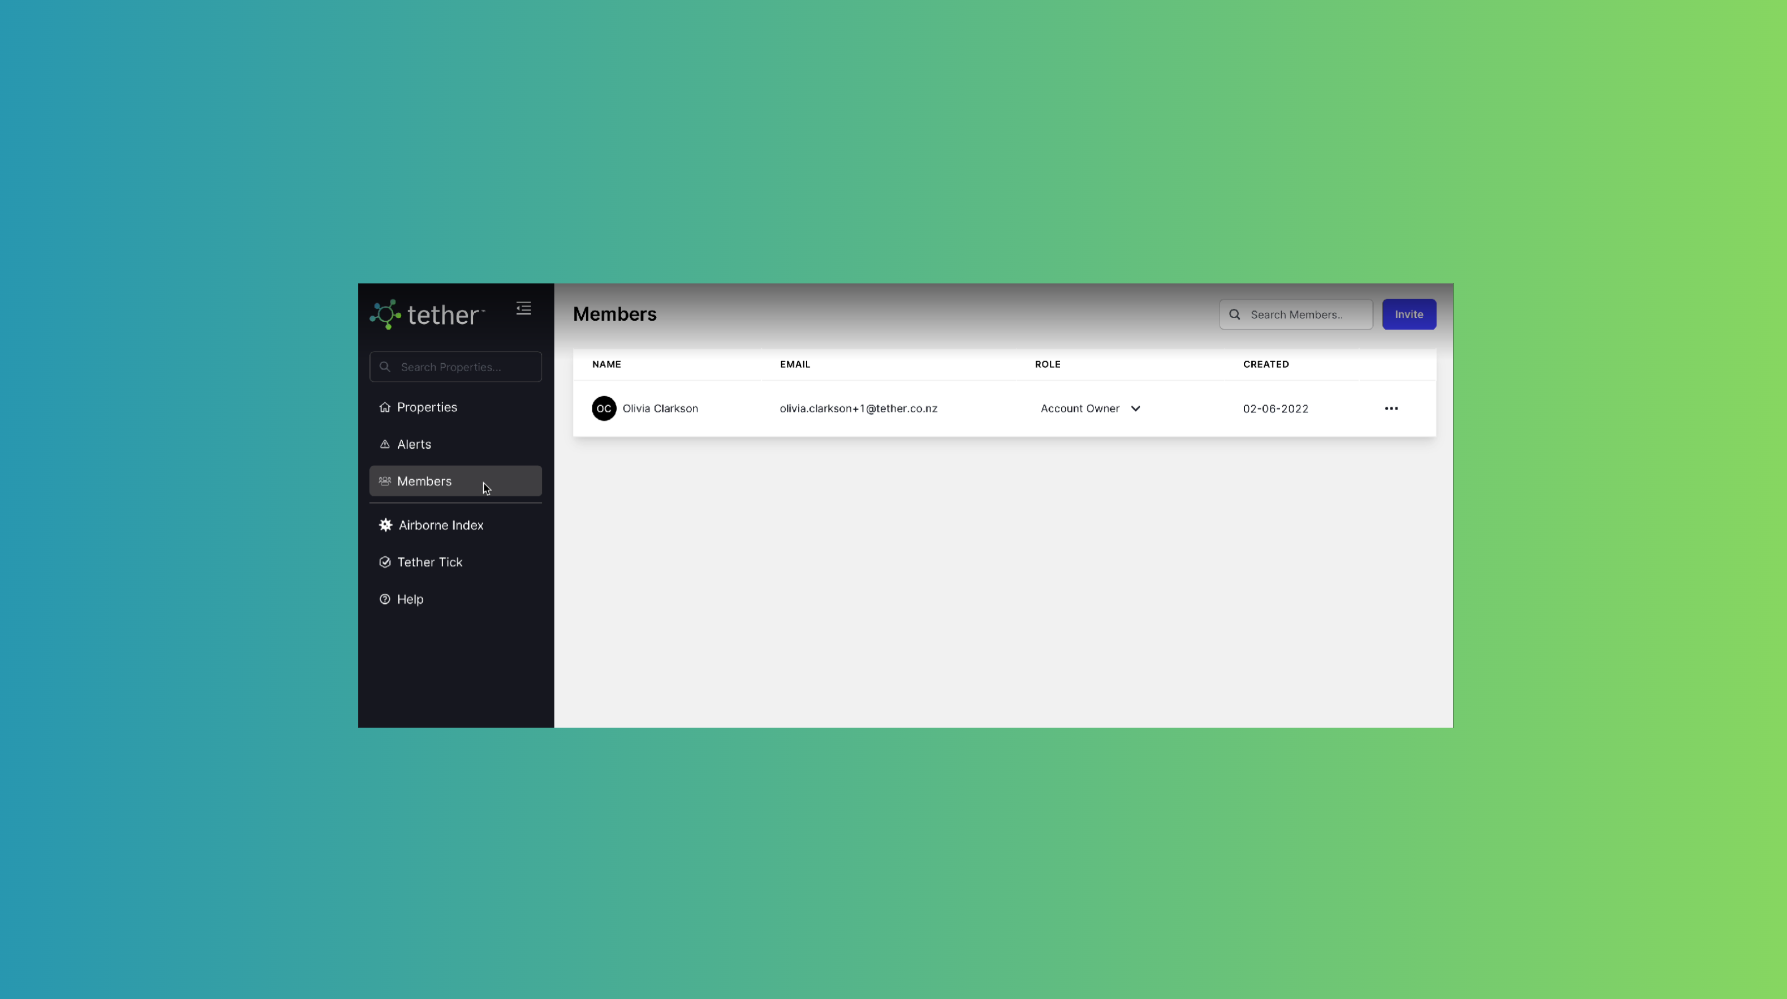
Step 3: Click the Invite Button
- In the top-right corner, you'll see a big blue button. Click on it to bring up the 'Invite User' window.
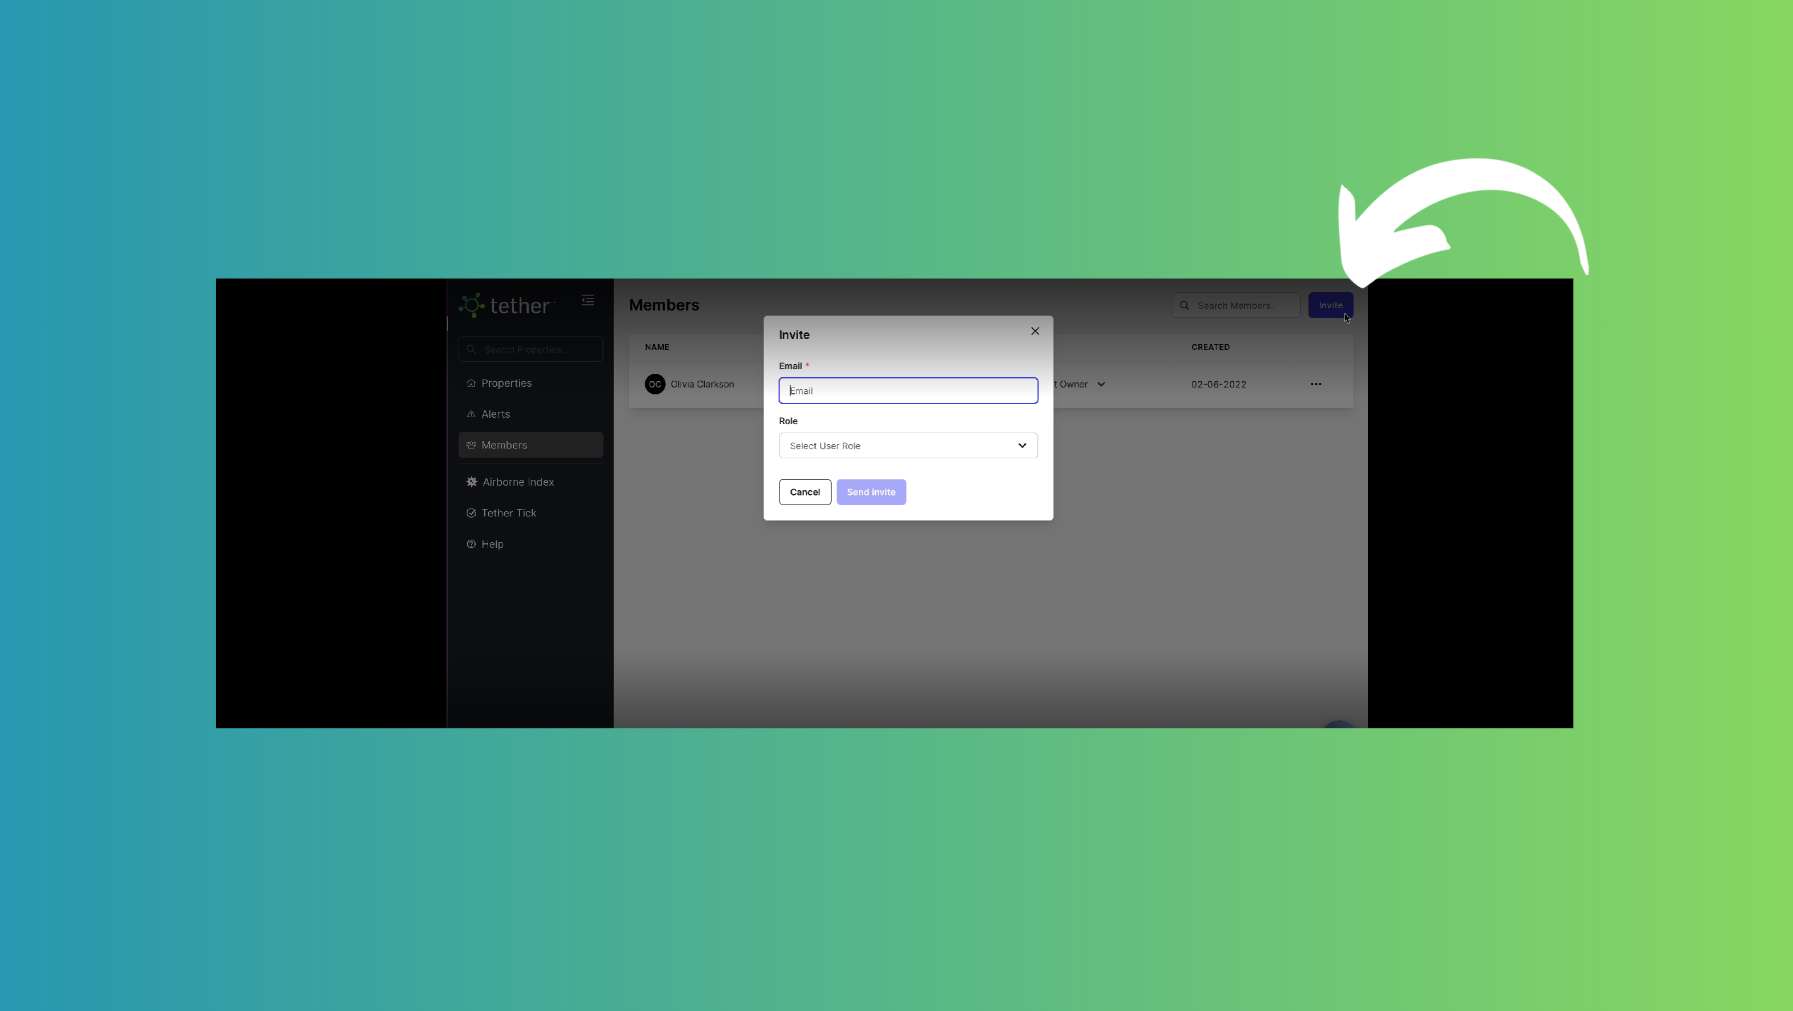
Step 4: Enter New User's Email
- In the 'Invite User' window, enter the email address of the new user you want to invite.
Step 5: Select User Role
Now, select the role that best suits the user you're inviting. You have several options:
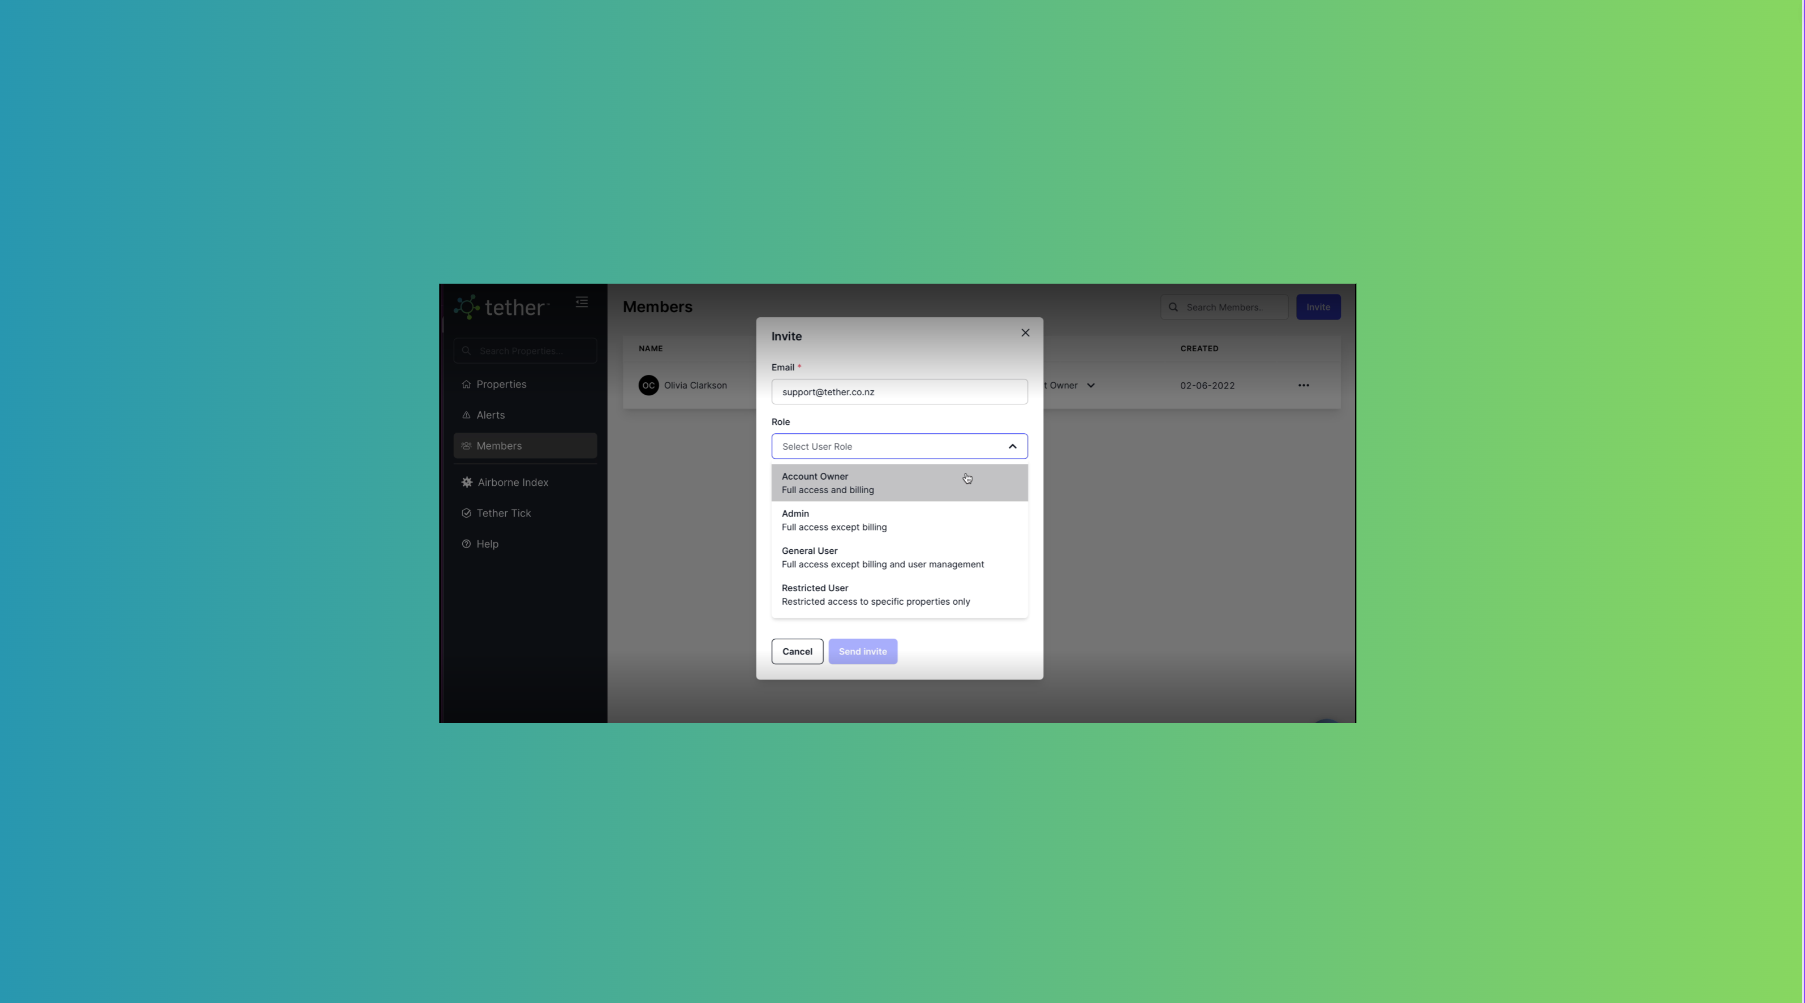
- Account Owner: This role enjoys the highest level of access. Account Owners have full access to all property data, including metric insights. They are responsible for managing billing information and have the ability to actively manage user roles, granting or modifying access for other members as needed. They are your organization's top-level authority.
- Admins also have full access to all property data and features, such as metric insights and reporting. However, it's important to note that Admins do not have access to billing information. They can actively manage user roles, granting or modifying access for other members as needed, ensuring a flexible and dynamic user environment.
- General Users have access to property data, including metric insights and reporting features, but they do not have user management or billing access.
- Restricted User: This role provides access exclusively to specific properties, restricting their data view to the information related to those selected properties. With this level of access, they will only have access to property-specific data and associated features, including metric insights and reporting tailored to the chosen properties.
SET AN INVITE FOR A RESTRICTED USER
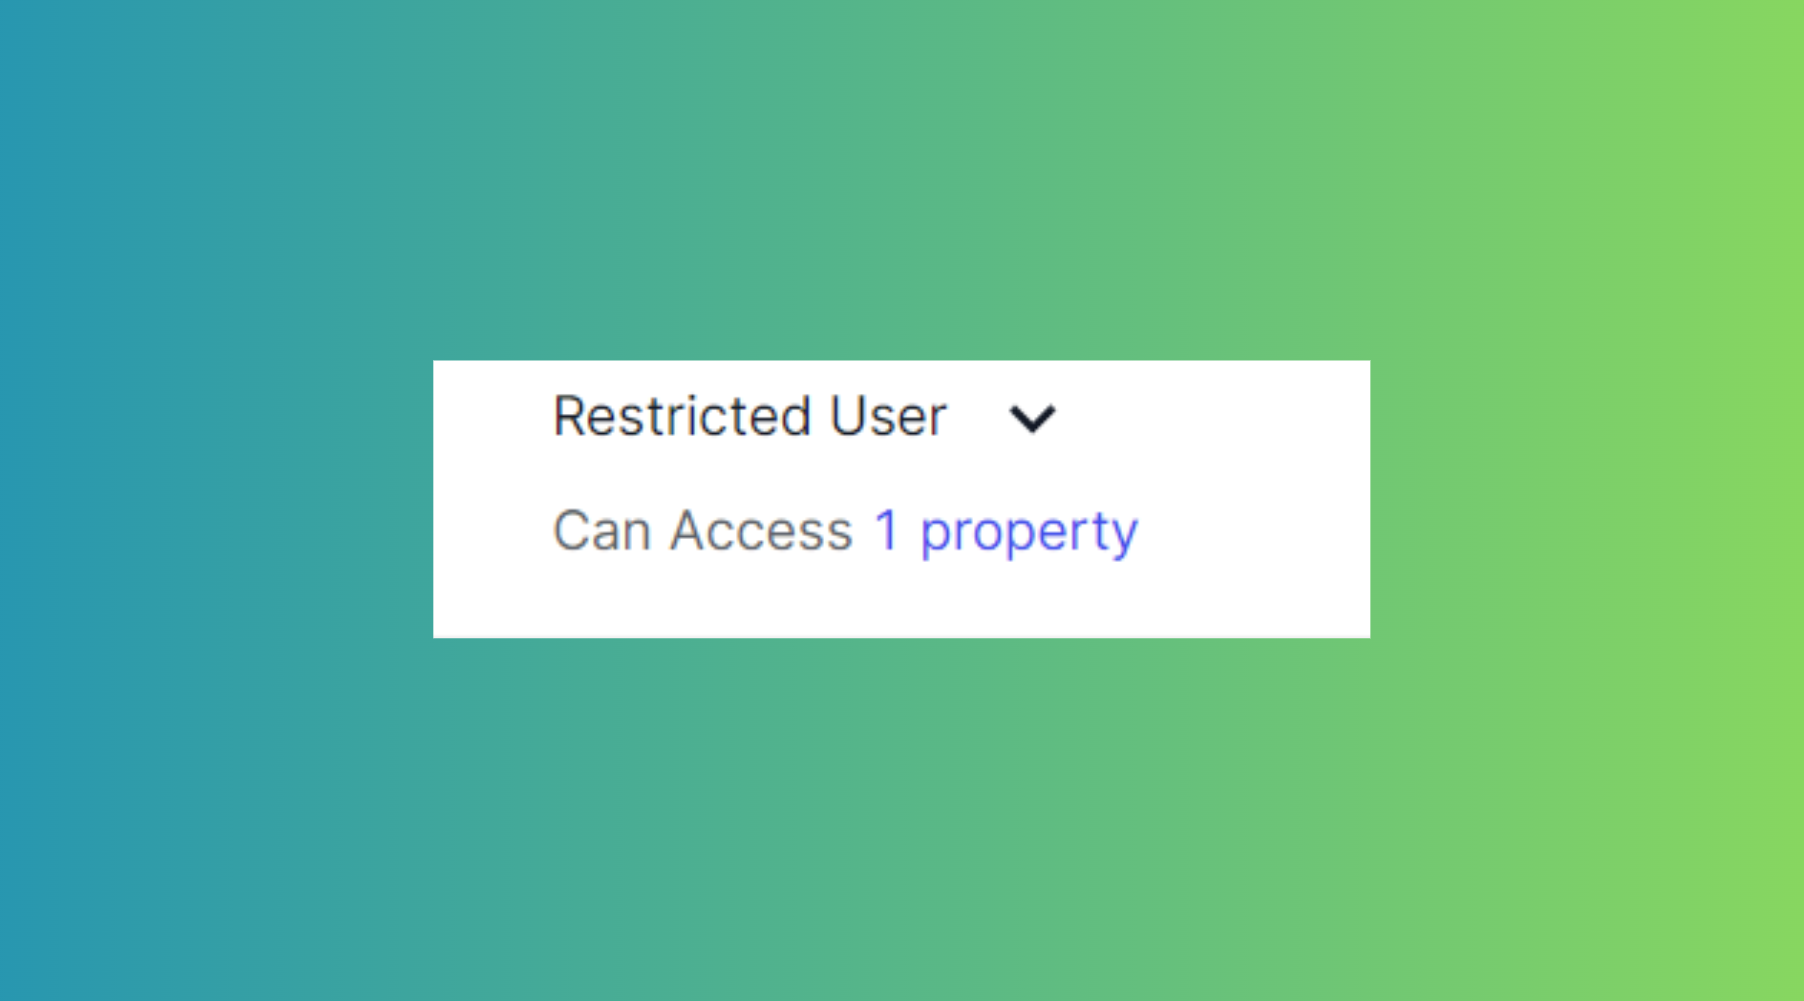
Here we are going to invite a restricted user. There a few extra steps to take when the user has accepted their invite.
In this case, the user hasn’t accepted it yet, which you can see here, so you can’t assign the properties they are restricted to yet.

Once the user has accepted the invitation to your organization, you can grant them access to specific properties. Start by navigating to the 'Members' table, and locate the Restricted User for whom you want to grant property access.
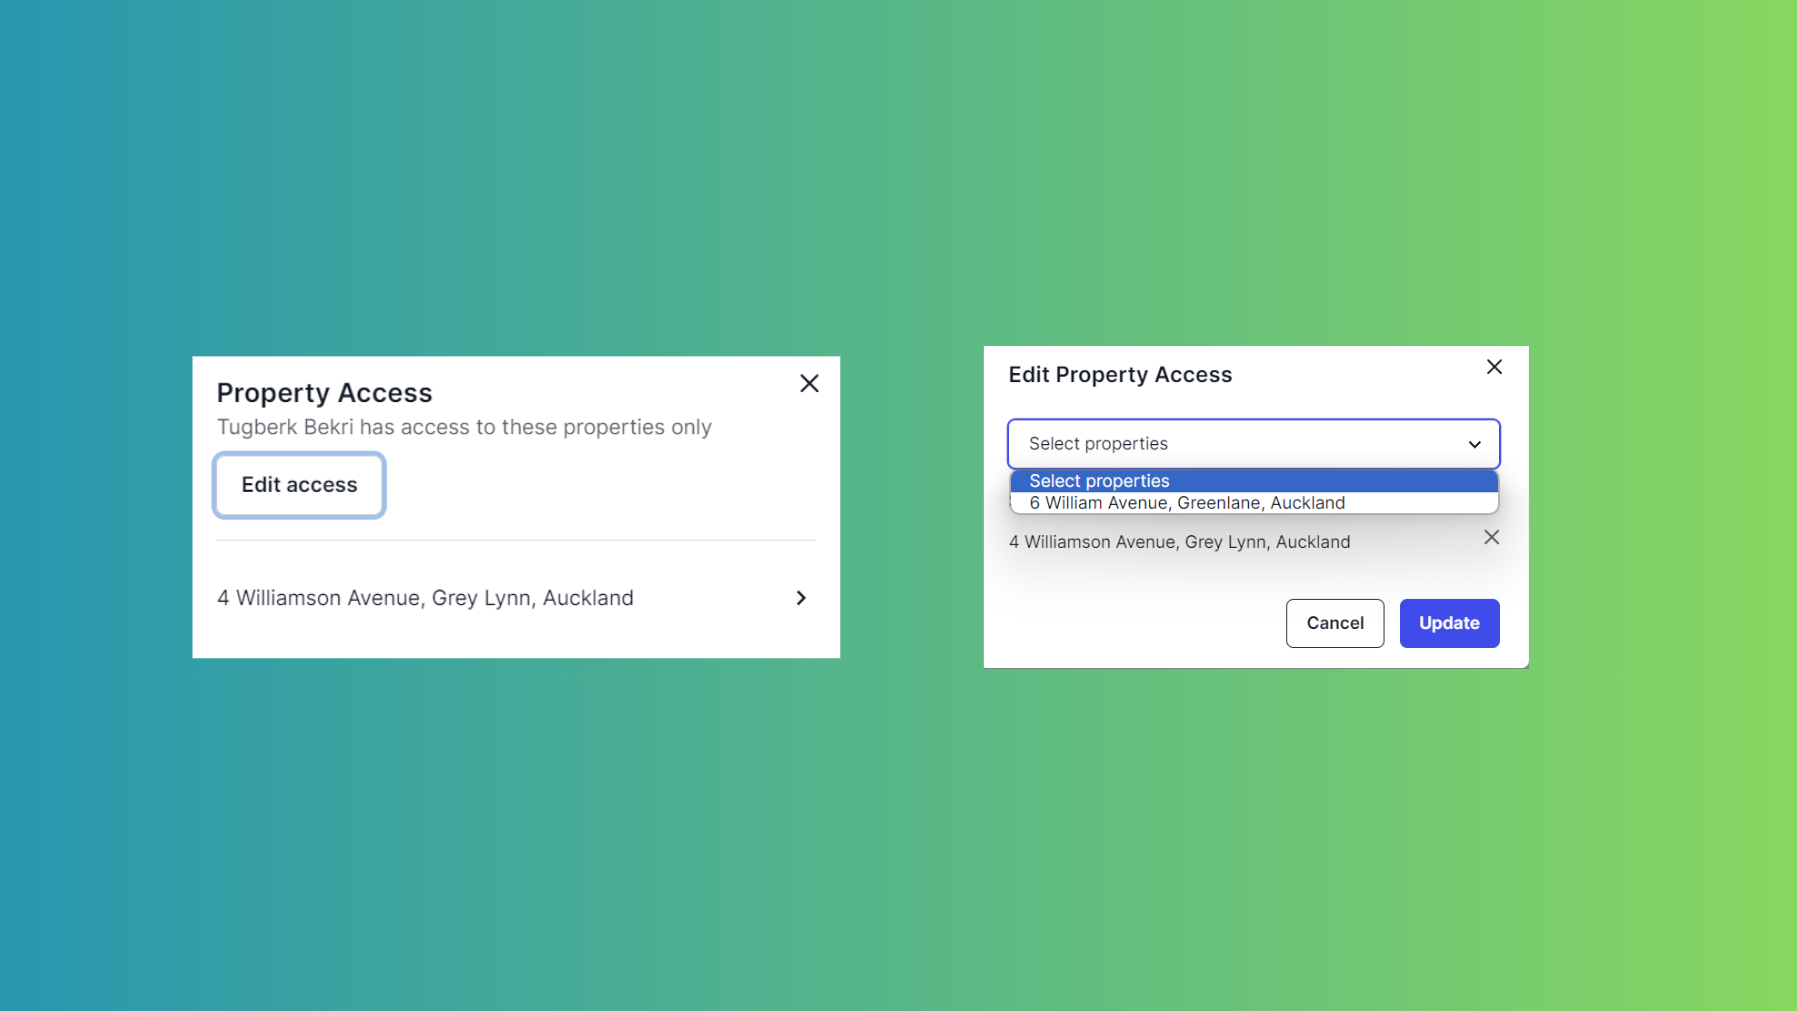
Step 2: Select Properties
With the Restricted User's profile selected, click on the 'Select properties' button to display the properties modal.
Step 3: Edit Access
Next, click on the 'Edit access' button. A dropdown menu will appear, allowing you to choose the specific properties you'd like to grant access to.
Step 4: Choose Properties and Update
From the dropdown menu, select the properties you want to grant access to for the Restricted User. Once you've made your selections, press the 'Update' button.
Congratulations! You've successfully granted access to specific properties for the Restricted User. They can now access the selected properties and relevant data.
Step 6: Confirmation
- Double-check the role you've selected to ensure it aligns with the user's responsibilities. Once you're certain, click the 'Invite' button.
That's it! Now you can successfully invited team members with specific roles to your Tether organization. Whether it's granting full access or providing restricted access, our platform is designed to meet your needs.
Need to resend an invite?
Step 3: Locate the Team Member to Resend an Invitation
In the 'Members' section, you'll find a list of all your team members along with their invitation statuses. Look for team members with a "Pending" invitation. You'll notice a "Resend" button under their email.
Step 4: Resend the Invitation
If you see the "Resend" button next to the email of a team member with a "Pending" invitation, simply click on it to resend the invitation.
That's it! You've successfully resent the pending invitation to join your Tether organization. Your team member will receive the invitation again and can complete the registration process.
Delete user

Step 1: Log in to Your Tether Account
First, log in to your Tether account by visiting https://portal.tether.co.nz/.
Step 2: Access the Members Section
On the left-hand panel, you'll find various options such as 'Properties', 'Alerts', 'Members', and more. Click on the ‘Members’ section where you want to invite team members.
Step 3: Locate the User to Delete
In the 'Members' section, you'll find a list of all the users in your organization. Locate the user you want to delete from this list.
Step 4: Initiate the Deletion Process
To begin the deletion process, navigate to the three dots button located on the right-hand side next to the user's name.
Step 5: Complete the Deletion
To ensure accuracy, the system will typically ask you to confirm the deletion action. Double-check that you've selected the correct user for deletion.
That's it! You've successfully deleted a user from your Tether organization. Whether it's for security reasons, organizational changes, or simply adjusting access levels, you now know how to manage your team effectively.
Please note that this feature is currently available exclusively on our web platform.
![Tether Primary Logo-01-1.png]](https://partners.tetherhq.com/hs-fs/hubfs/Tether%20Primary%20Logo-01-1.png?height=50&name=Tether%20Primary%20Logo-01-1.png)