How do I set up my first property?
Need some guidance on setting up your first property? You're in luck! I've whipped up a quick guide for you. Let's kick things off with the mobile instructions.

Mobile App Instructions:
Launch the Tether App. Once opened, spot the plus symbol in the top right corner.

Tap on it.
This action unveils the 'Add Properties' window.
At this juncture, pick the type of property you're working with.

For the sake of this tutorial, I'll be choosing 'house'.
The following step involves entering your Address details. Tapping the initial textbox activates the ‘Search Address’ function. As you start typing, suggestions will appear. Ensure you select the correct address.

Got everything in place? If down the line you reckon you need to tweak some details, simply choose your property.
Locate and tap on the 3 dots positioned in the top right corner.
From the drop-down, opt for 'edit details'.
Made your adjustments? Seal the deal by tapping on the large lilac button labelled ‘Save Property’.
Voila! Your property is now primed and ready. The next phase involves setting up your device.
Brilliant work with the mobile setup! Now, let's shift our focus to the web portal.


Web Portal Instructions:
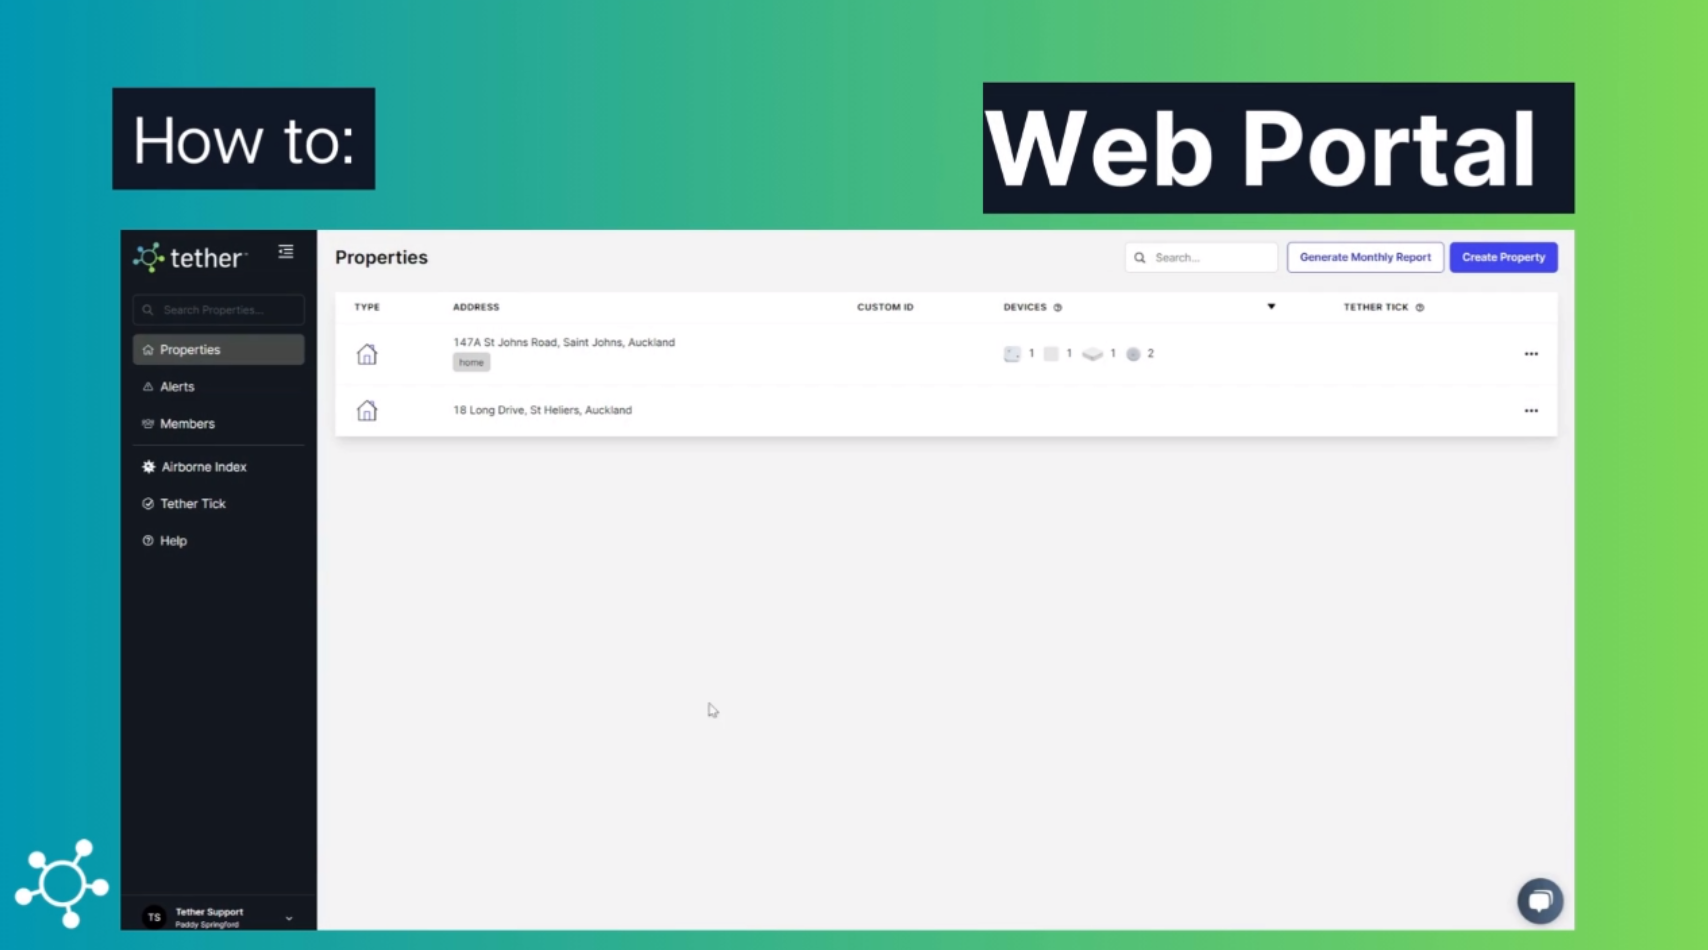
Fire up the portal.
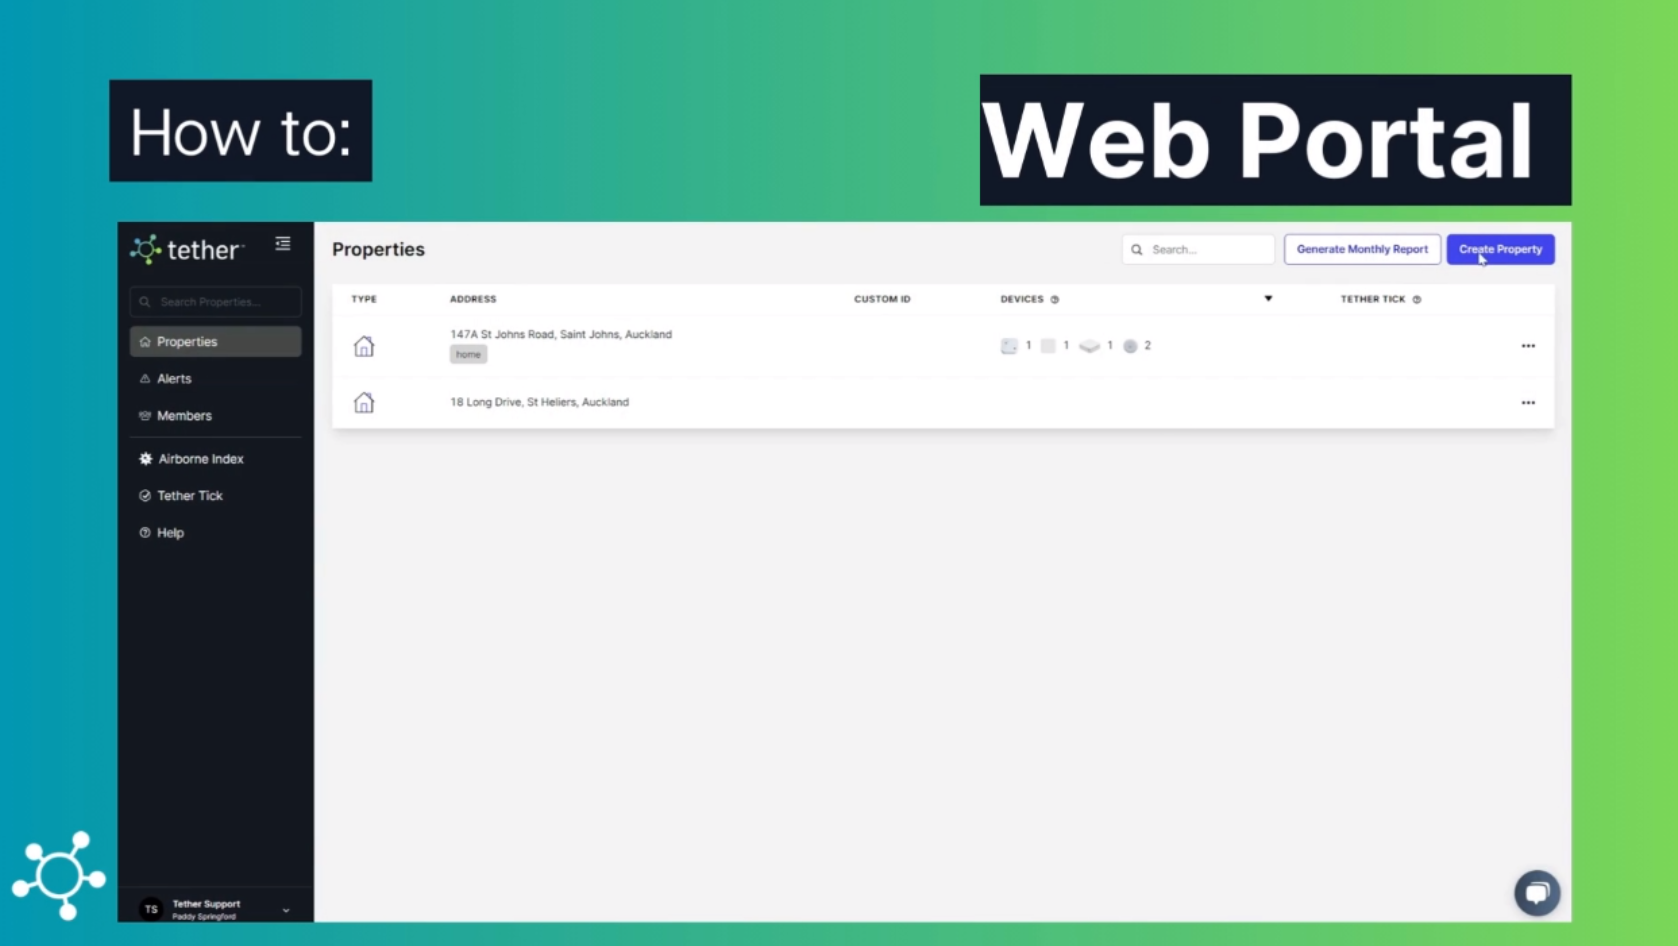
Direct your attention to the top right and click on the 'create property' button.

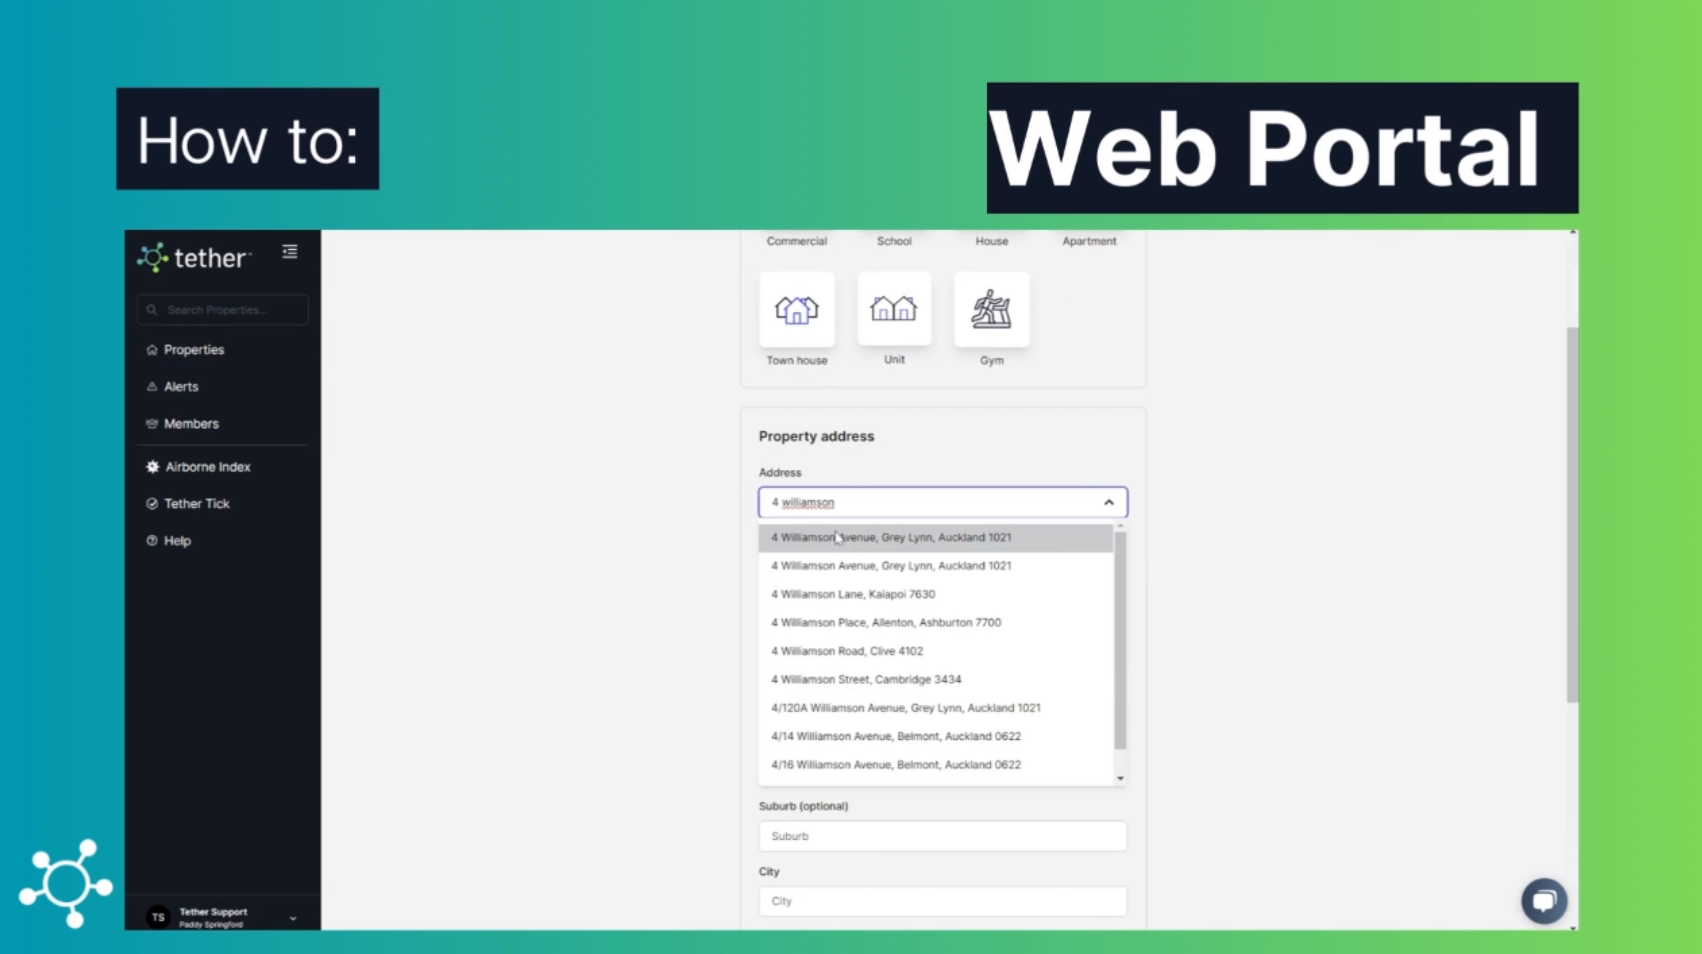
Now, select the type of property you have.
Enter the necessary property details.

Fancy adding a custom property ID? This could be handy, especially if you want to distinguish it from other similar properties.
Next, specify the floor area.
Conclude by hitting the 'create property' button.
That's the lowdown on setting up properties on both mobile and web. All the best with your Tether experience!
![Tether Primary Logo-01-1.png]](https://partners.tetherhq.com/hs-fs/hubfs/Tether%20Primary%20Logo-01-1.png?height=50&name=Tether%20Primary%20Logo-01-1.png)