EnviroQ Installation Video & Guide
Installation video and instructions for Tether's EnviroQ
Video Overview
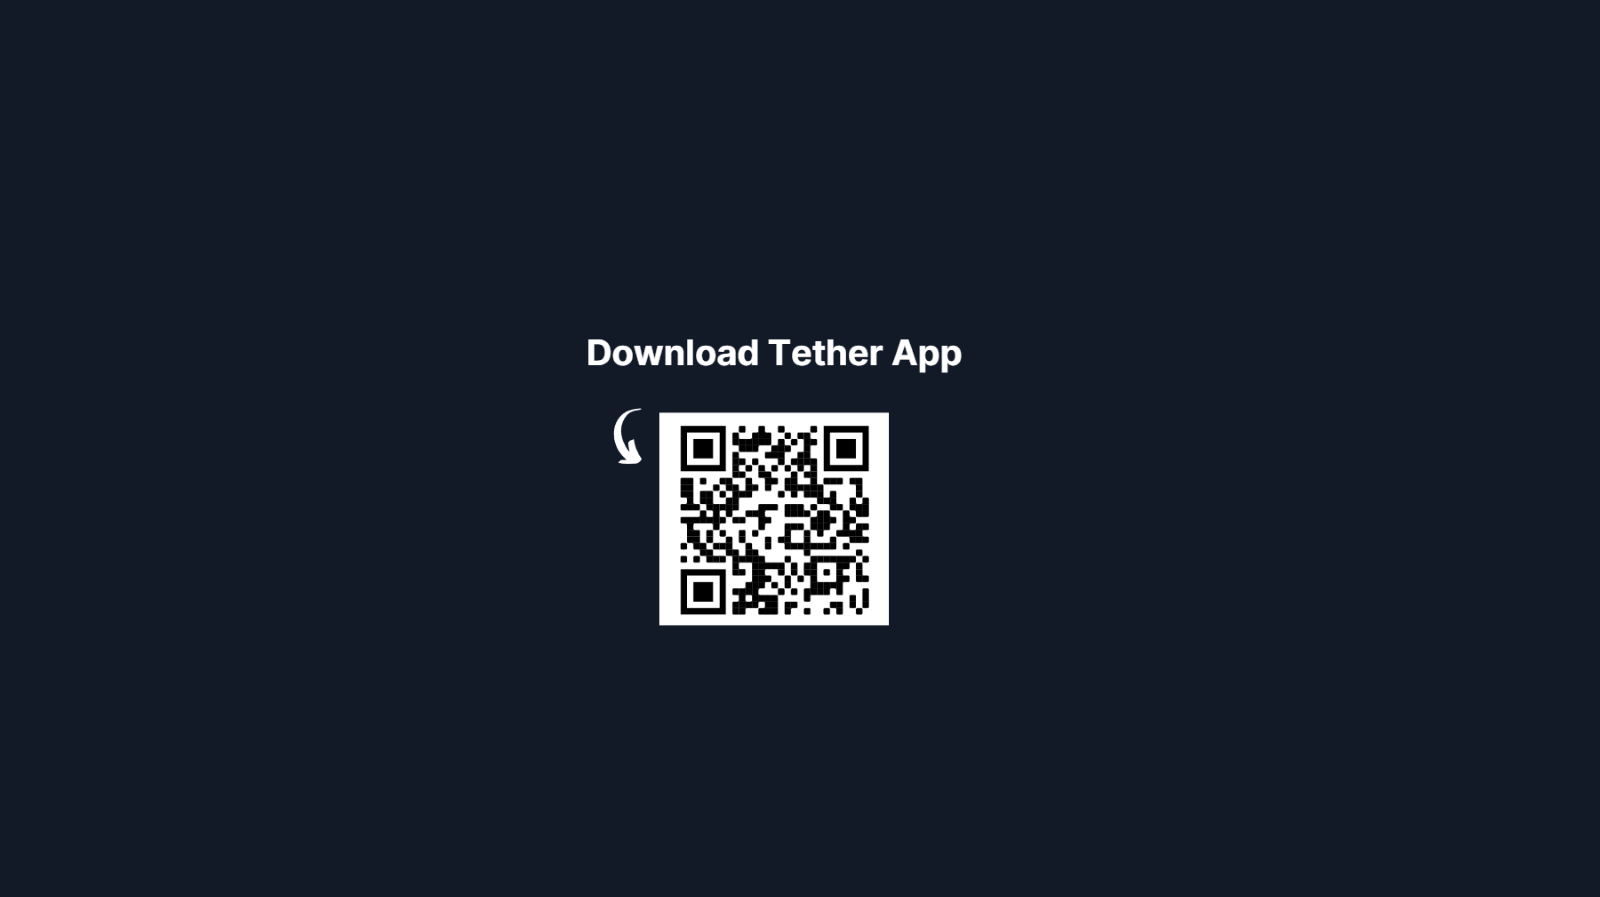
Step 1: Download Tether Mobile App
- Download the Tether Mobile App and sign into your account using your email address and the password that you have just created, you will need this for installing the devices.
Step 2. Activate Device
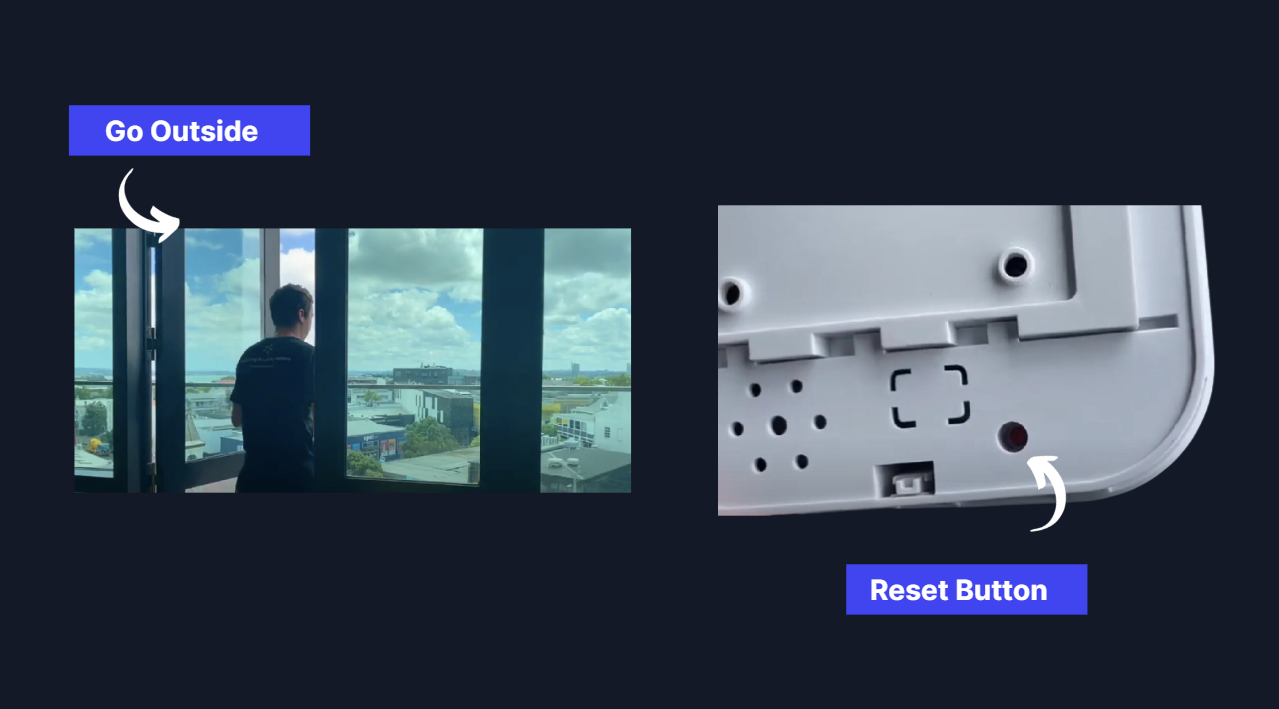
- Take your device outside into the fresh air, take the back off, and remove the tab to activate the batteries. If your device does not have a pull tab, you will need to reset the device, to do this press down on the red reset button on the back of the device for 5 seconds. The light on the front will flash from yellow to white, and then green, once this is complete your device is ready.
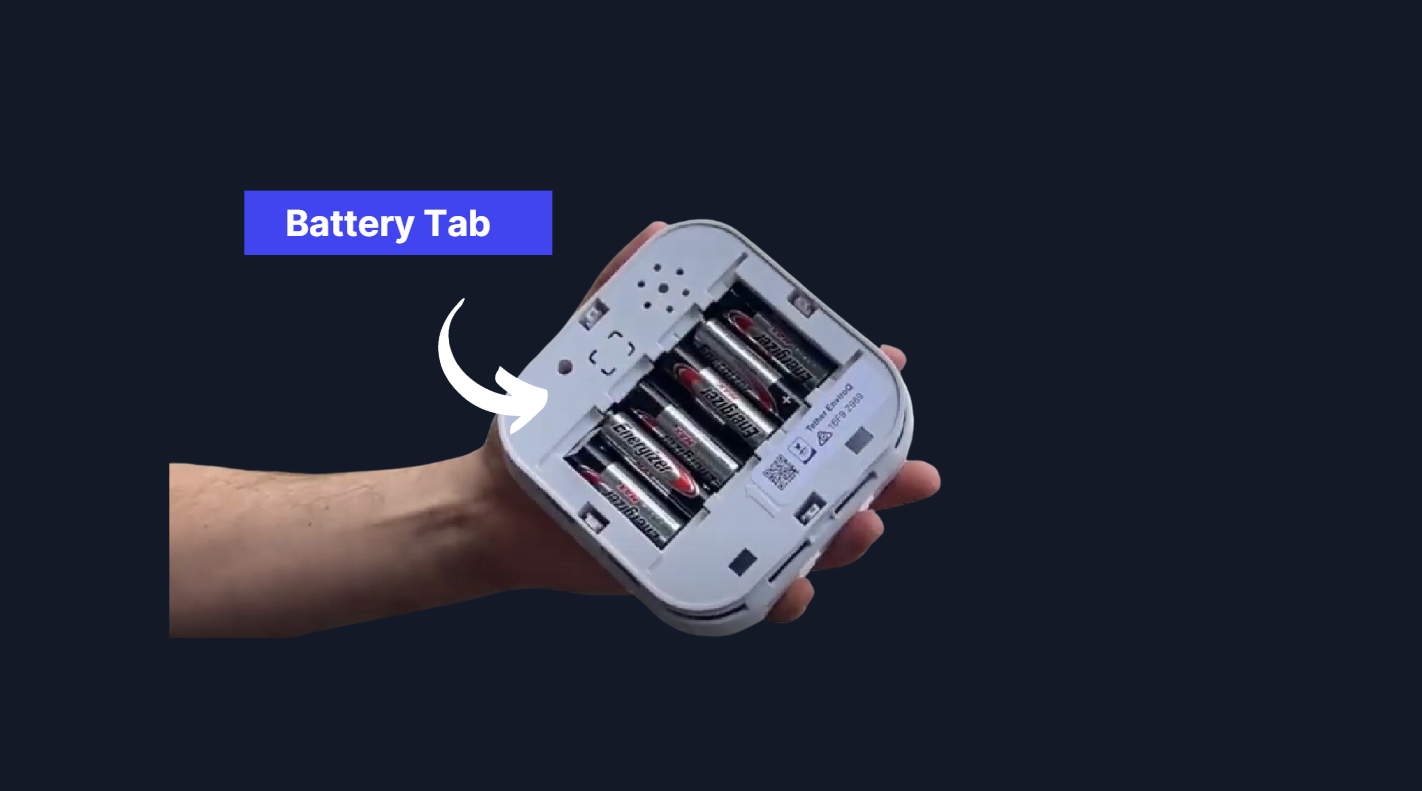
- It’s vital to do this step outside as our devices require a healthy environment to calibrate correctly on setup. If you have activated your device inside, don’t worry! You can just reset the device again outside.
Step 3. Set Location
- Go into ‘your property’ on the app and select the ‘install device’ button on the overview screen.
- You set up a room by adding a new room. Name the room, add the floor level (this is optional)
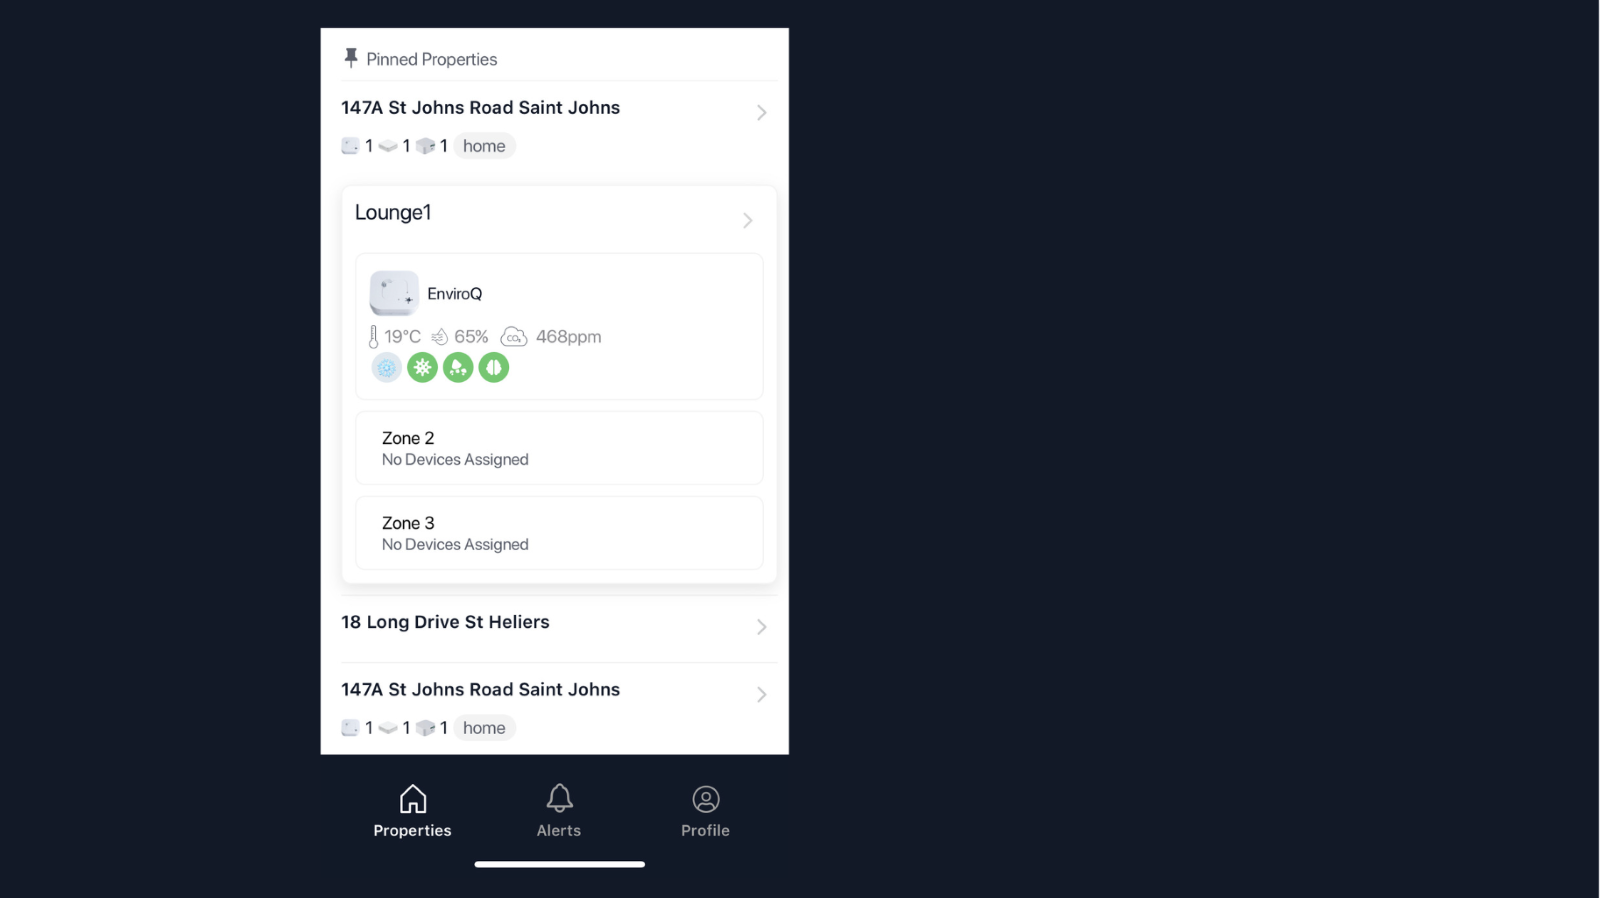
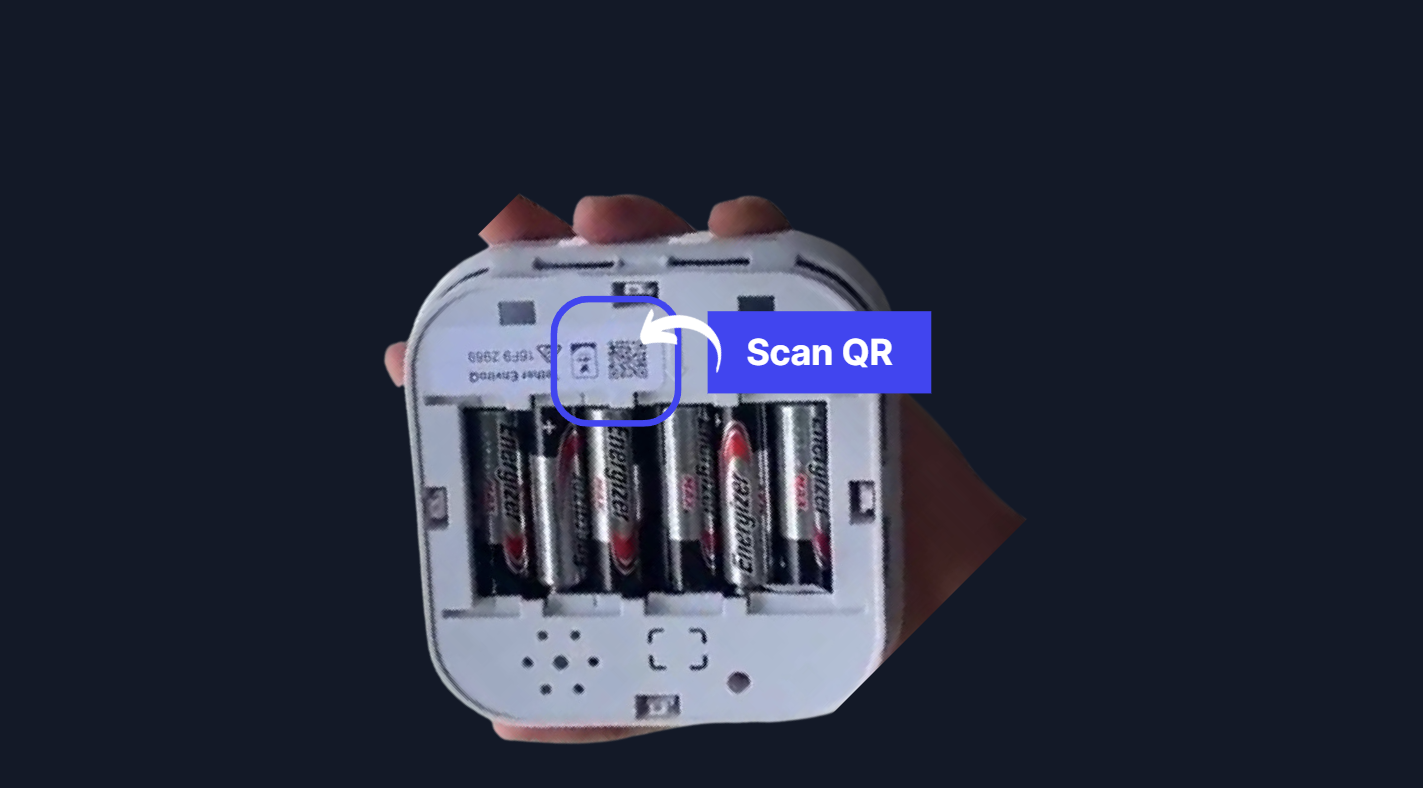
- Scan the QR code on the back of the device, and your device is ready to be attached to the wall.
- It may take 15-30min before you can start seeing the data come in.
Step 4. Attach to wall
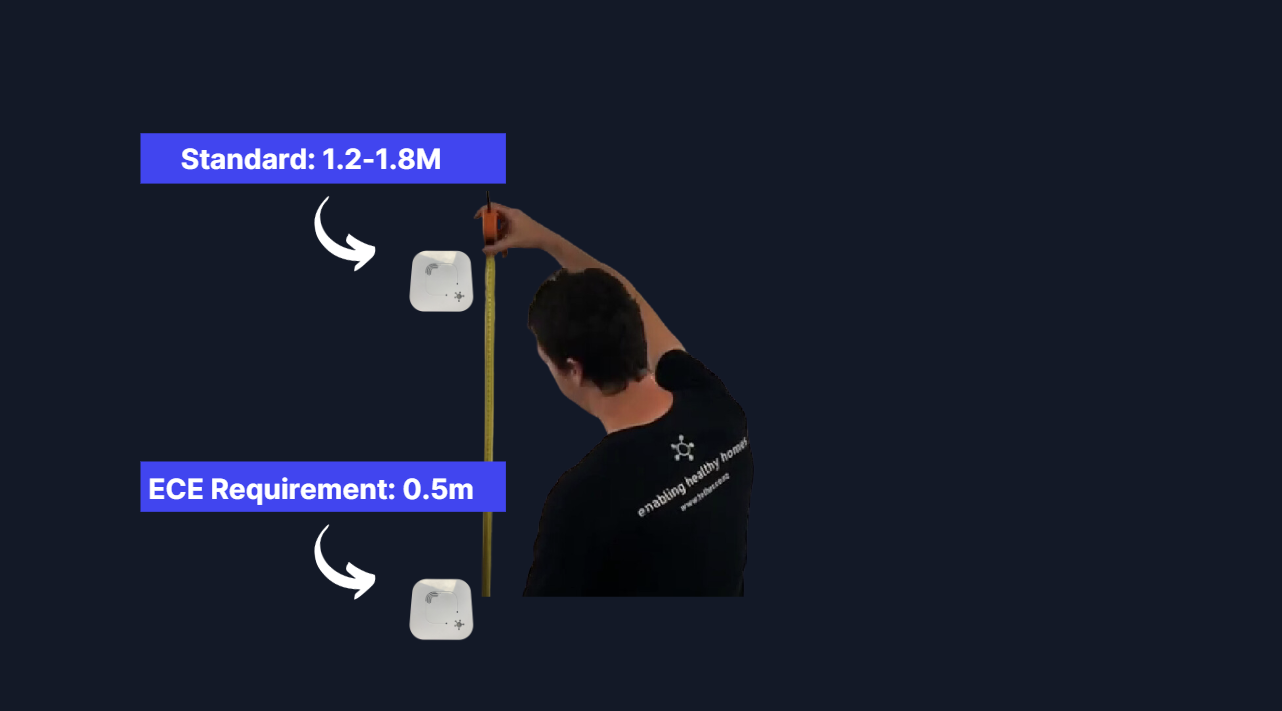
- The device should be 1.2-1.8m off the ground (about head height).
- It should be at least 2m away from any ventilation (eg HAVC systems, windows or external doors) and out of direct sunlight.
- Take off the back by sliding it down. This sometimes requires a little extra strength.
- Attach the mounting plate to the wall with the arrow pointing left
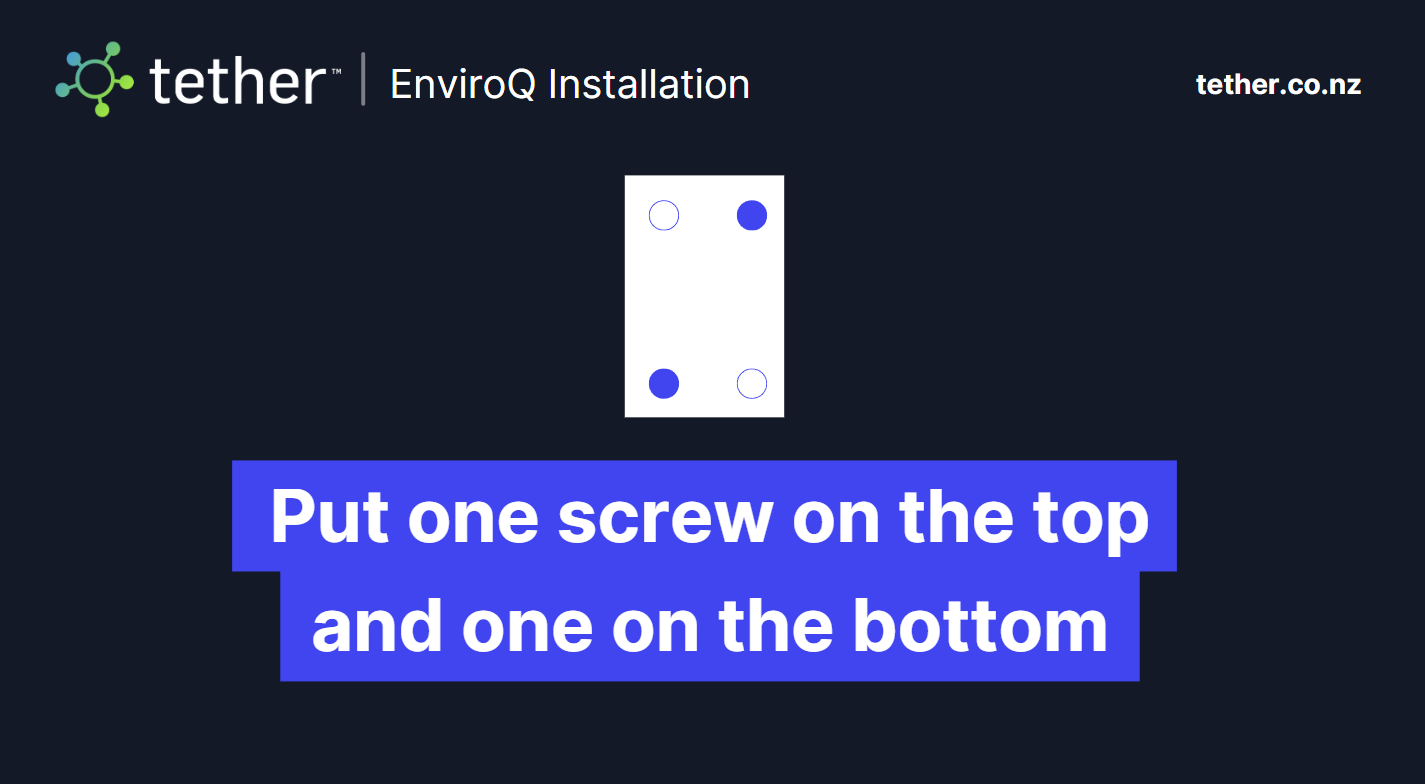
- You will only need to use 2 screws, 1 at the top and 1 on the bottom.
Step 5. Take a photo
- Take a photo of the room that the device is in, this is useful for any future troubleshooting.
All done! Your device should be working and you should be seeing the data flow in.
![Tether Primary Logo-01-1.png]](https://partners.tetherhq.com/hs-fs/hubfs/Tether%20Primary%20Logo-01-1.png?height=50&name=Tether%20Primary%20Logo-01-1.png)