Detectify Installation Video & Guide
Installation video and instructions for Tether's Detectify
Installation Video
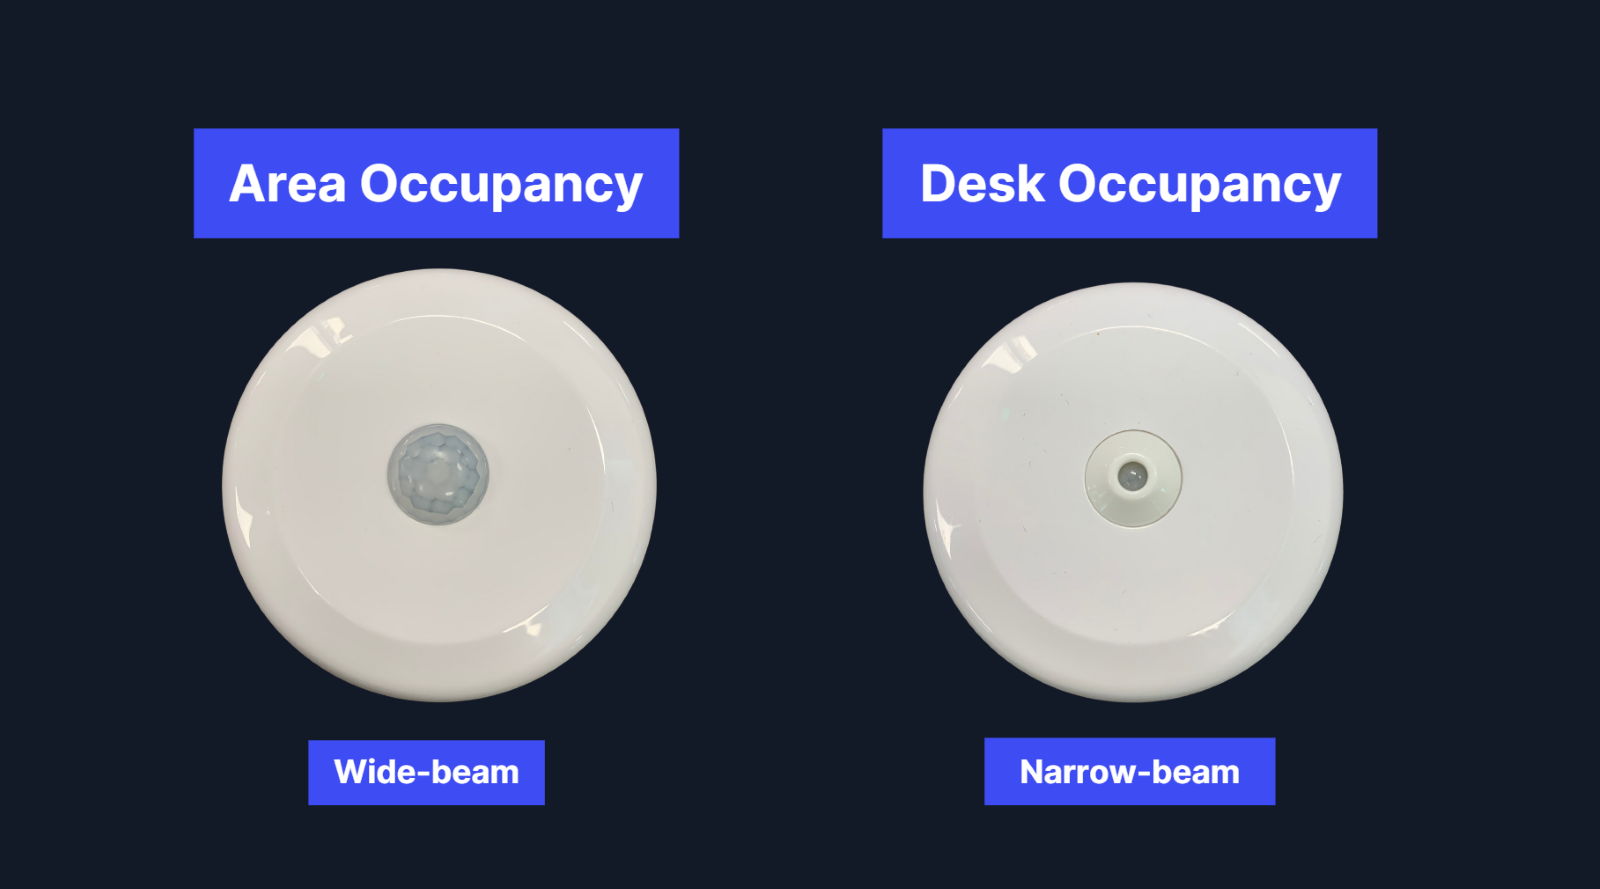
The Detectify is designed to measure occupancy and comes in two variants: Wide-beam, which is ideal for measuring the occupancy of a larger area, and Narrow-beam, designed for desk-level occupancy measurement.
Before we begin, let's ensure we have all the necessary components:
- Hinged backplate (provided)
- Detectify device (provided)
- Phillips #1 Screwdriver
- Tweezers
Firstly, download the Tether App by scanning the QR code.

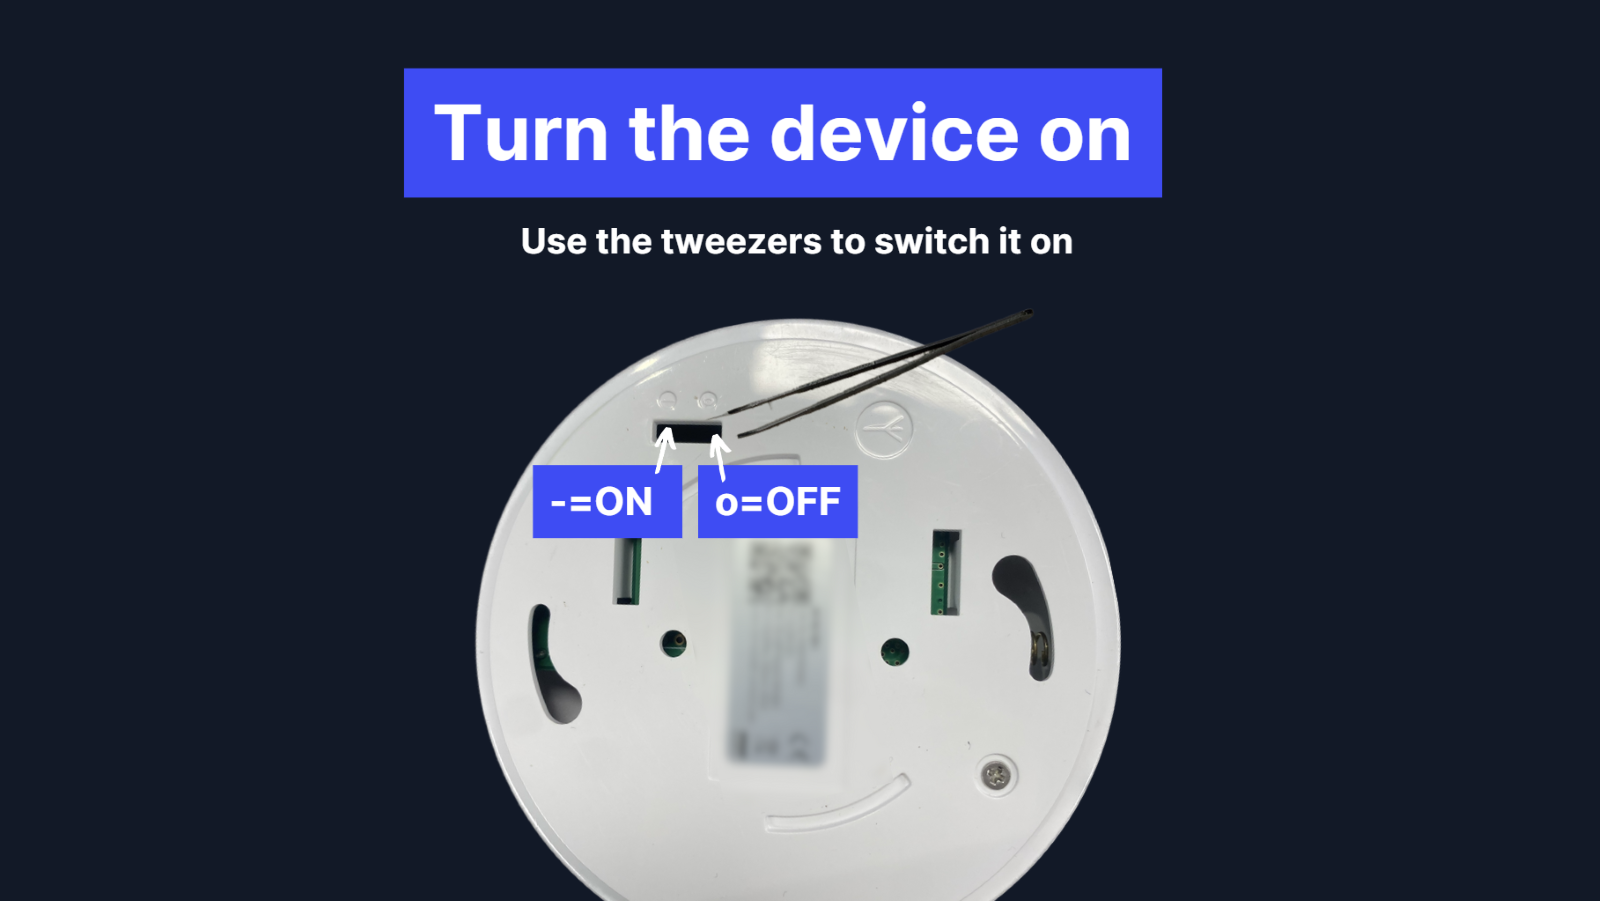
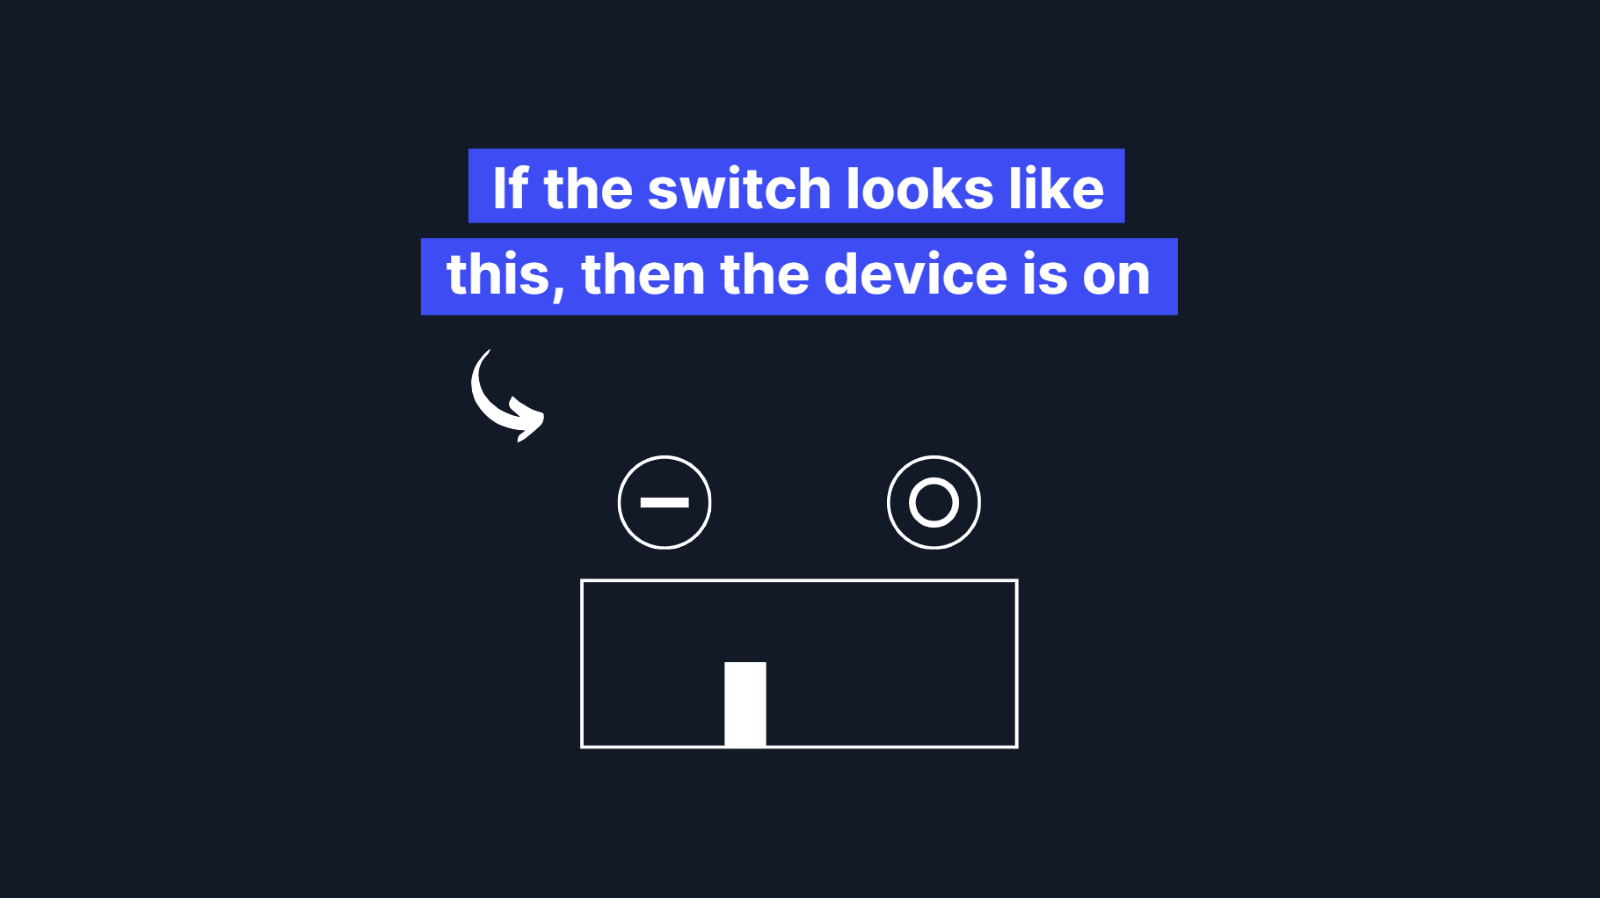
Then to activate your Detectify device, use the tweezers to slide the small switch from the 'Off' position to the 'On' position. We sometimes turn on the devices just before we ship them, so just check if it isn't already on.
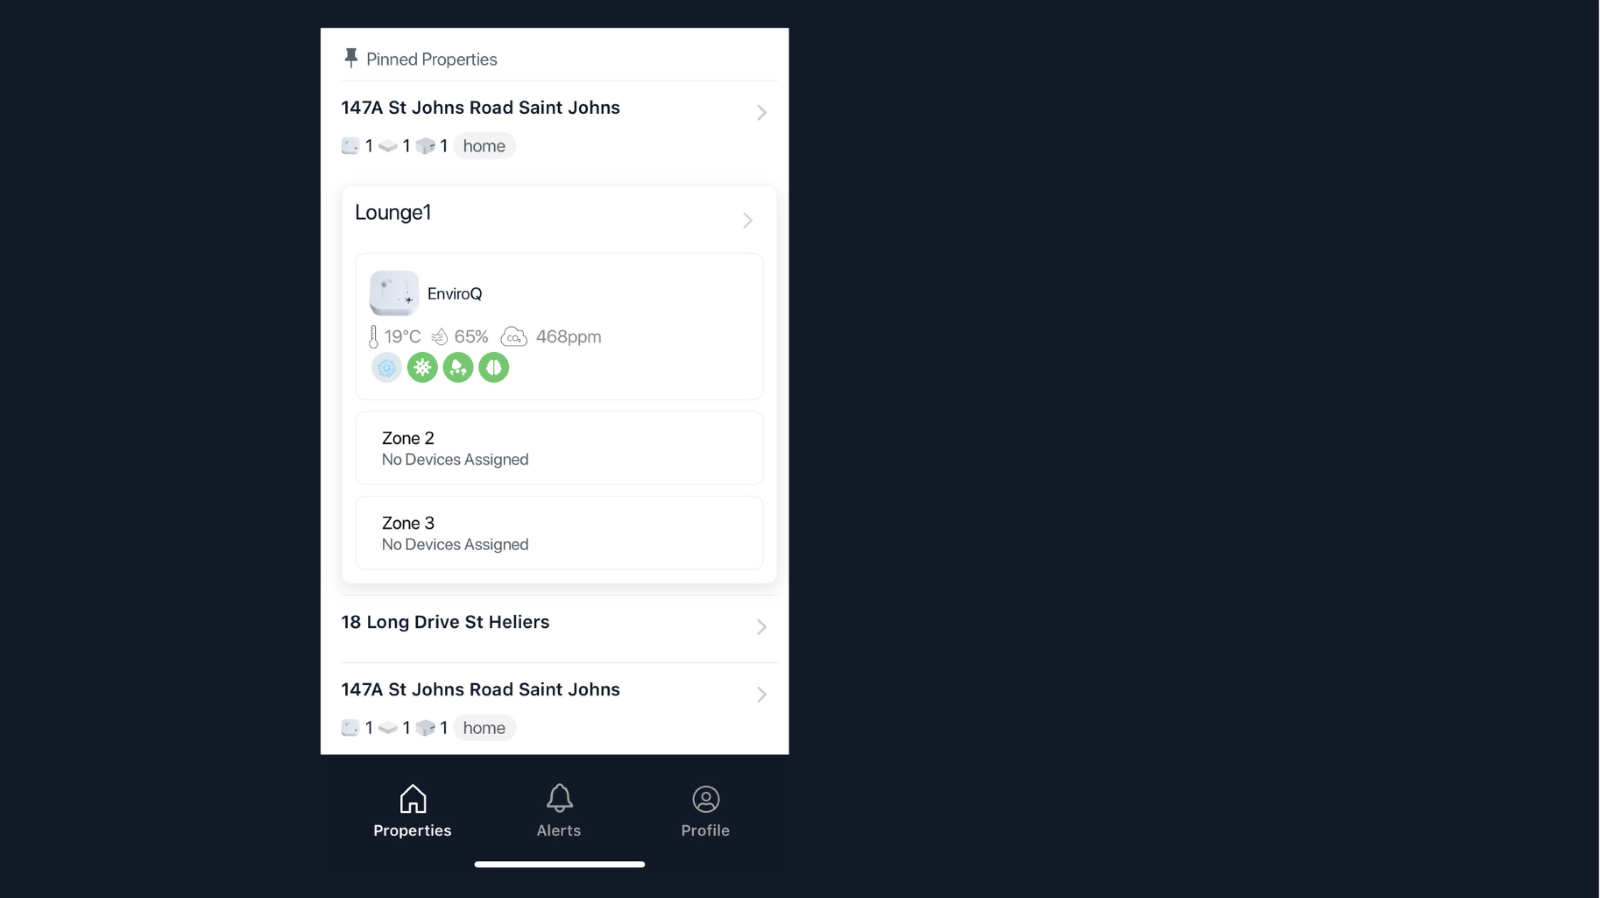
Once its on, open the Tether App and scan the QR on the device, select the location where the device will be installed, then boom, you are ready to install the device.
For installation:
Choose a suitable position for your device, keeping in mind that the maximum detection for either device type distance is approximately five meters
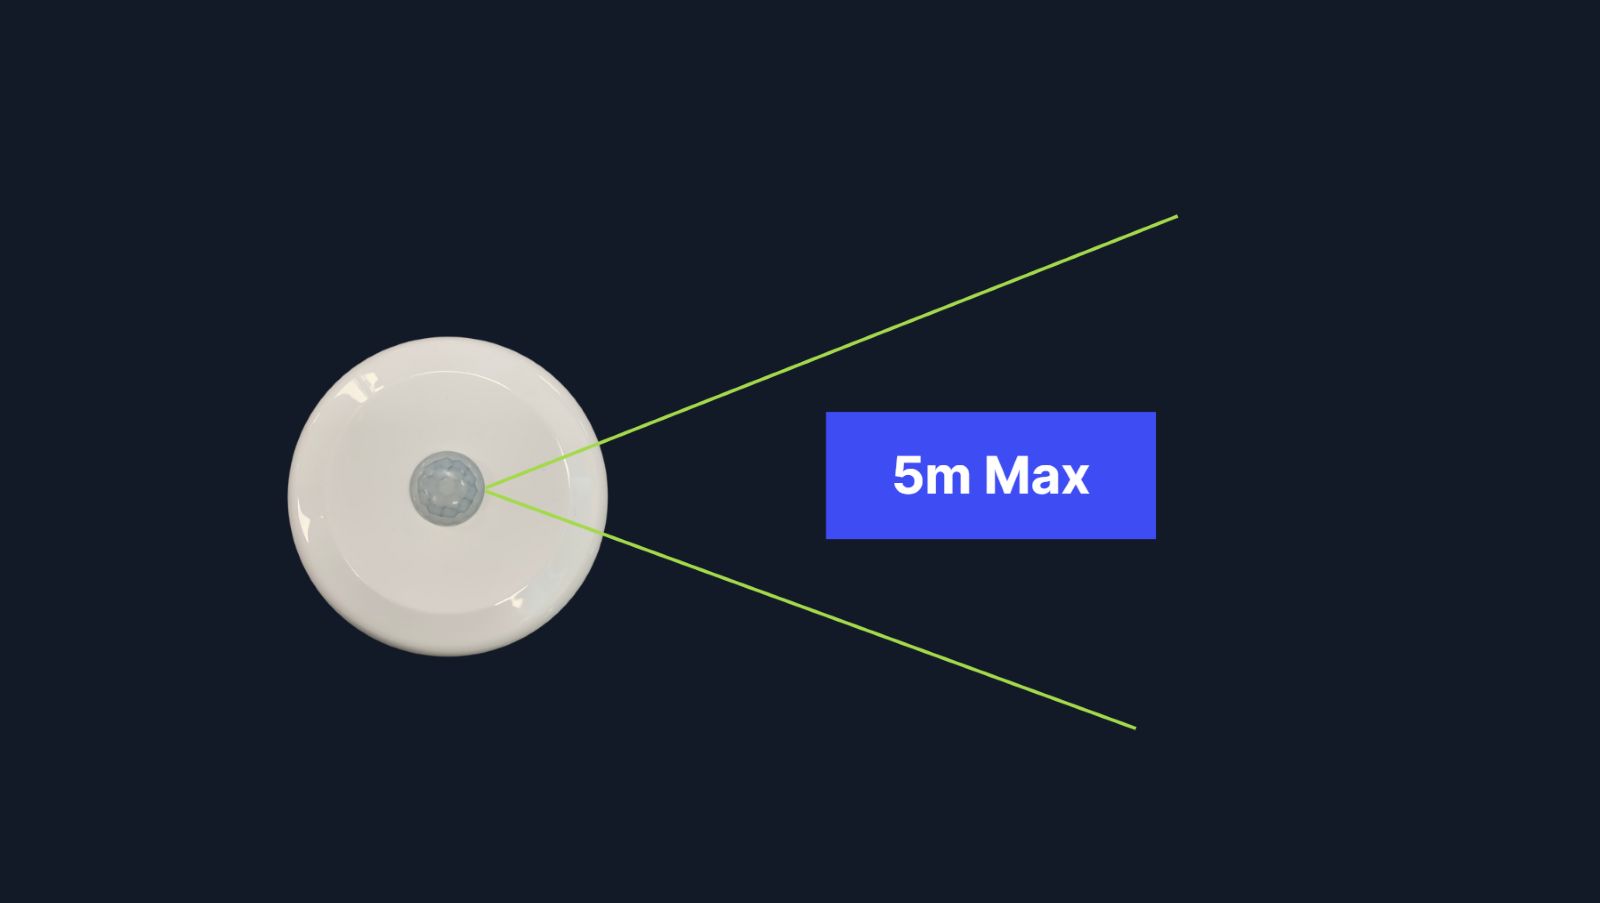
The device has a detection angle of either 30 degrees for the narrow-beam or 90 degrees for the wide-beam variant.
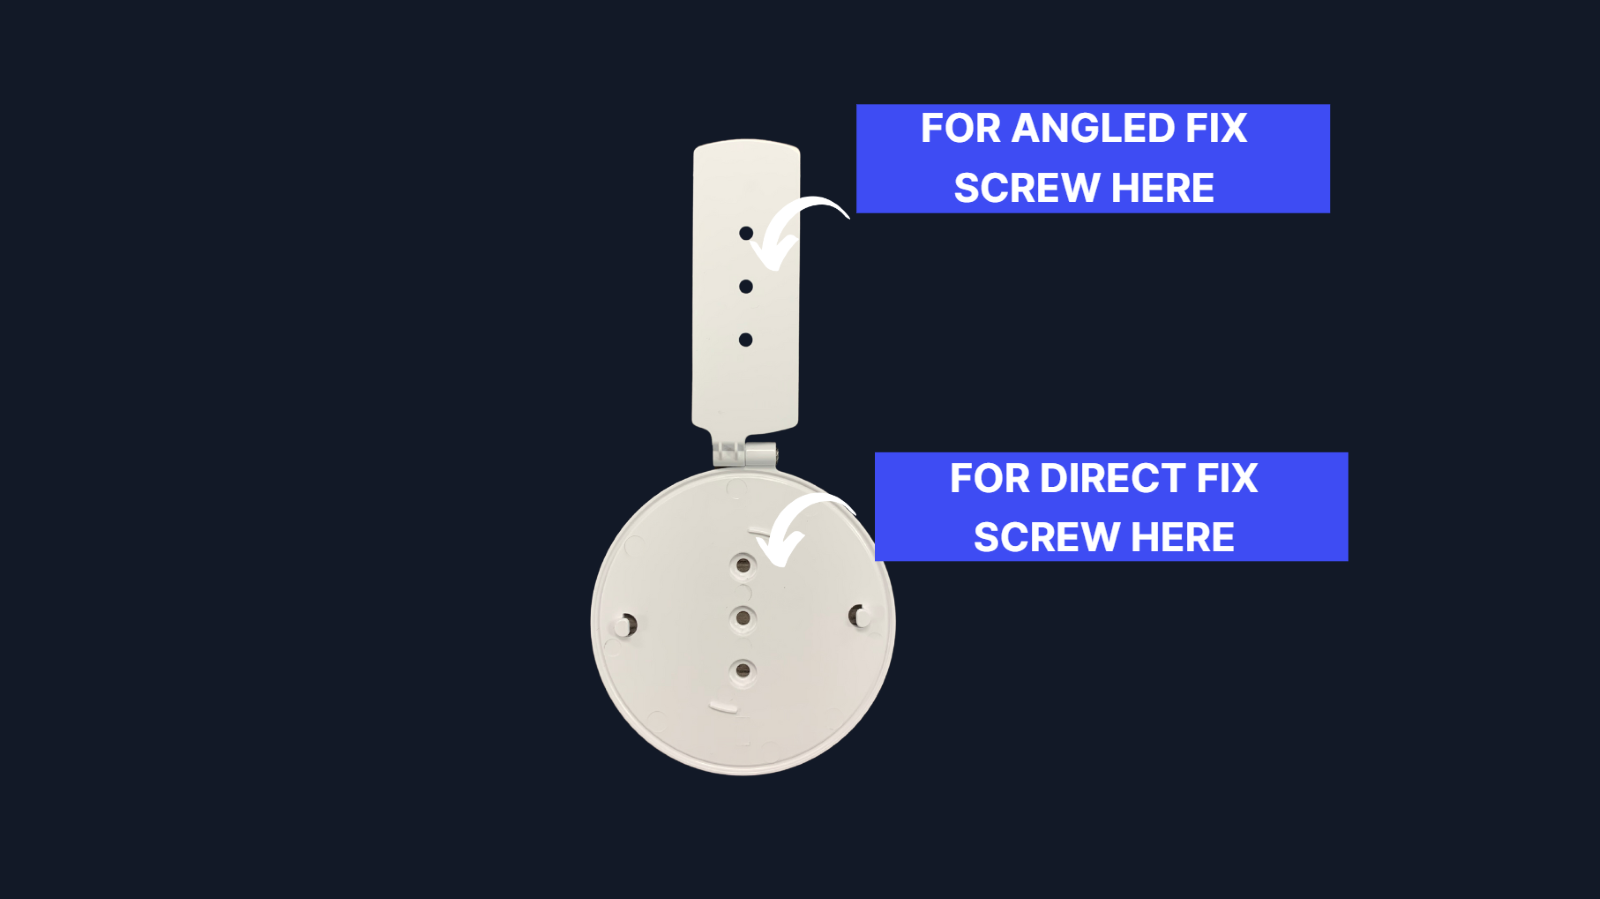
You have the option to use either the direct screw plate or the angle joint support for mounting, both of which are included.
For the Narrow-beam device, attach it directly to the underside of the desk, where a person would most likely be sitting.
For the wide beam device Attach the backplate to the wall or celling, align the device with the screw plate, ensuring the pins fall through the twist-holes at the bottom. Twist the device clockwise until it locks into place.
And there you have it, your Detectify devices are now successfully installed.
Thank you for choosing Tether, and if you have any questions, please don't hesitate to reach out.
![Tether Primary Logo-01-1.png]](https://partners.tetherhq.com/hs-fs/hubfs/Tether%20Primary%20Logo-01-1.png?height=50&name=Tether%20Primary%20Logo-01-1.png)