Creating Your First Area
Are you grappling with multiple rooms that require monitoring? Not quite sure how to delineate these spaces effectively? Look no further; Tether's Area creation function is at your service to assist!
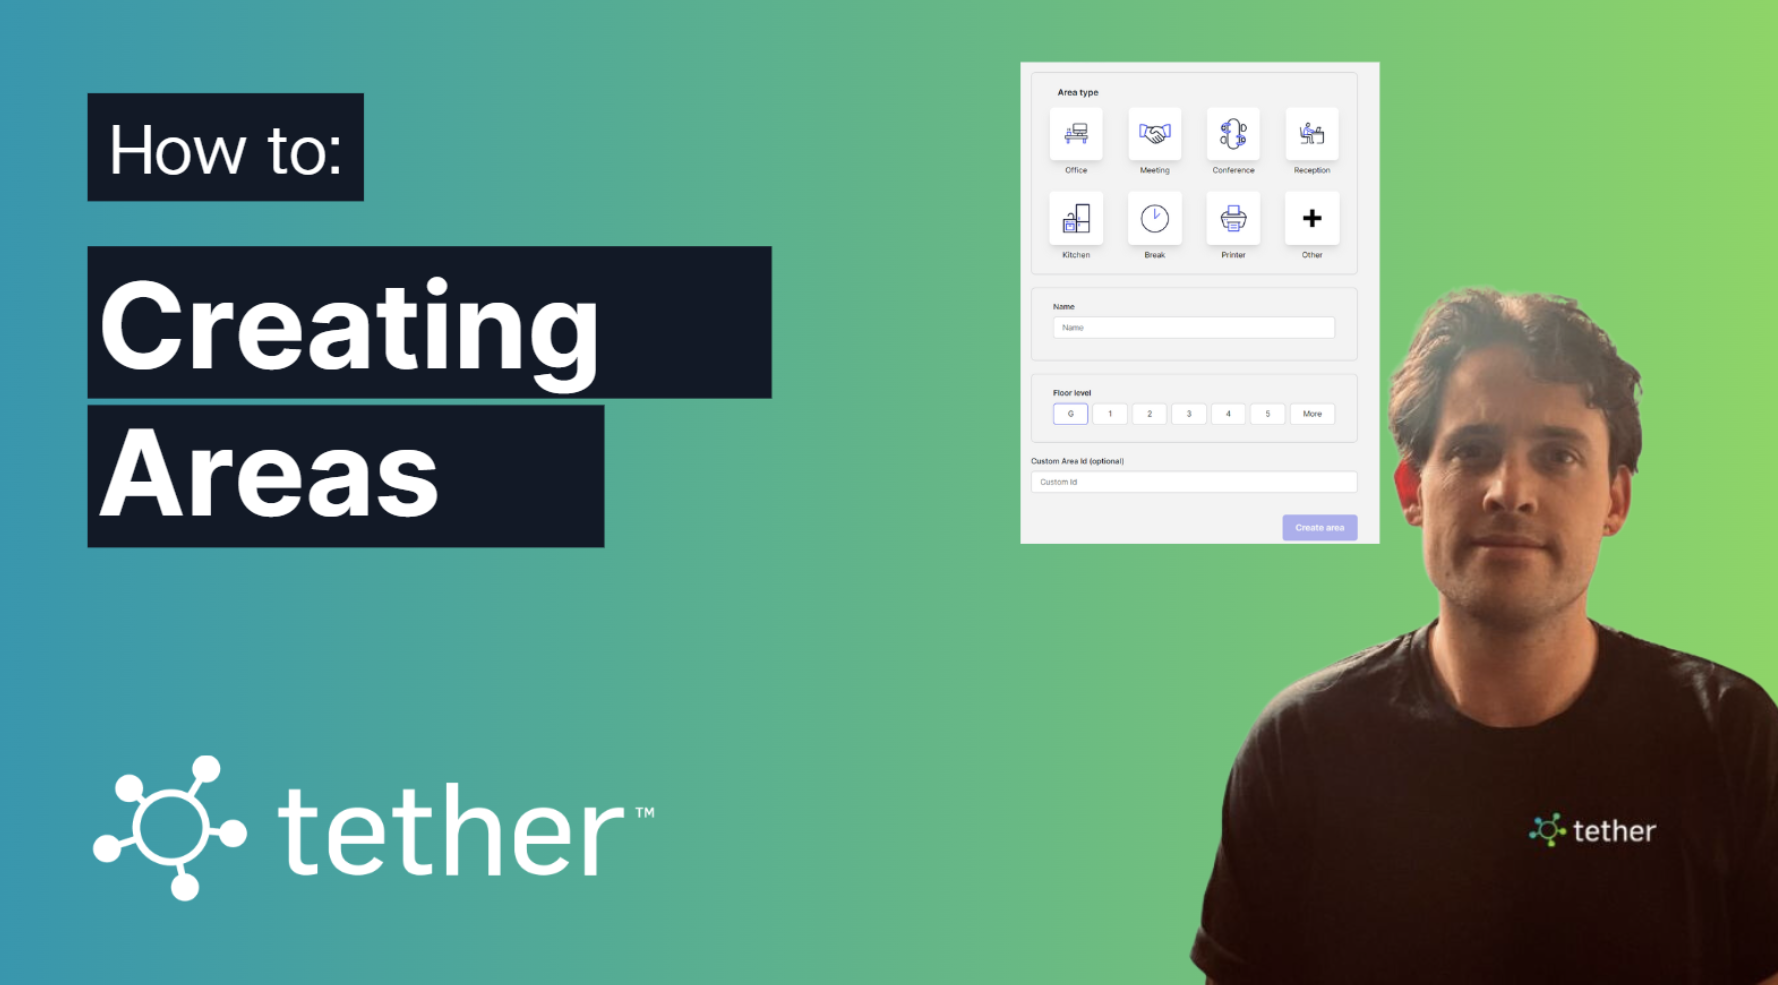
Let's delve right in, shall we?
Commence by logging into the Tether portal at https://portal.tether.co.nz/.
In the sidebar, you will spot a button ready for action. Go ahead and select it.
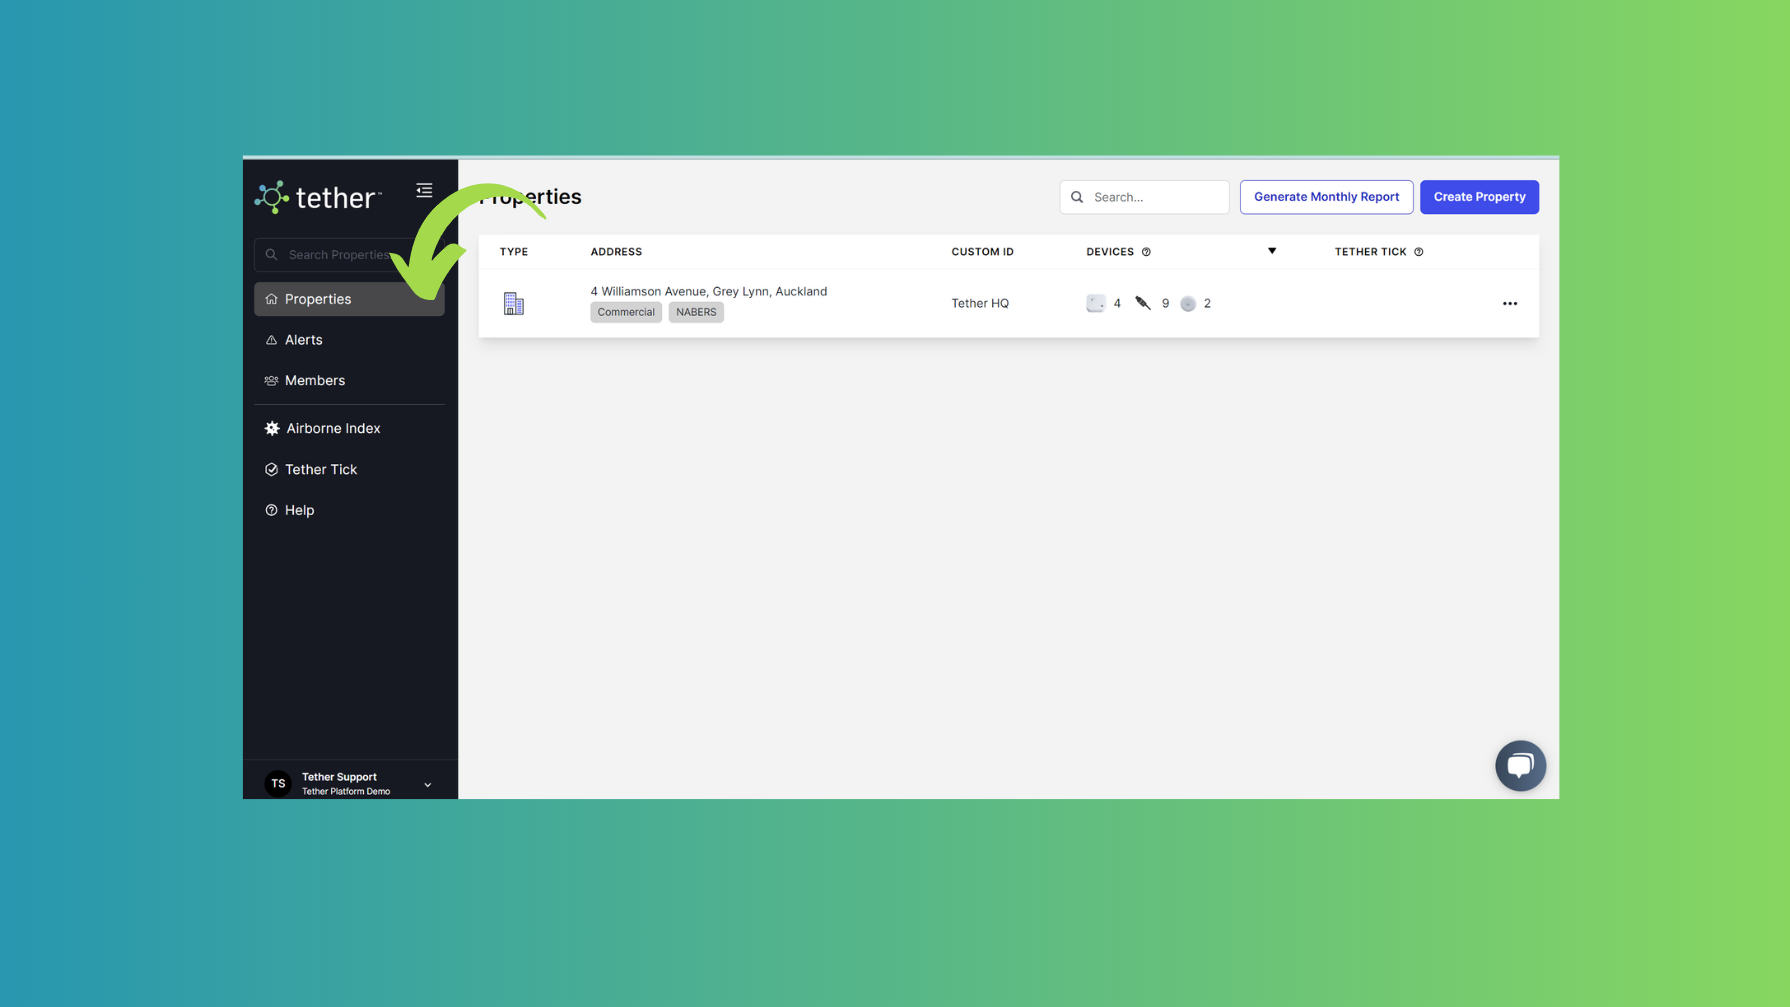
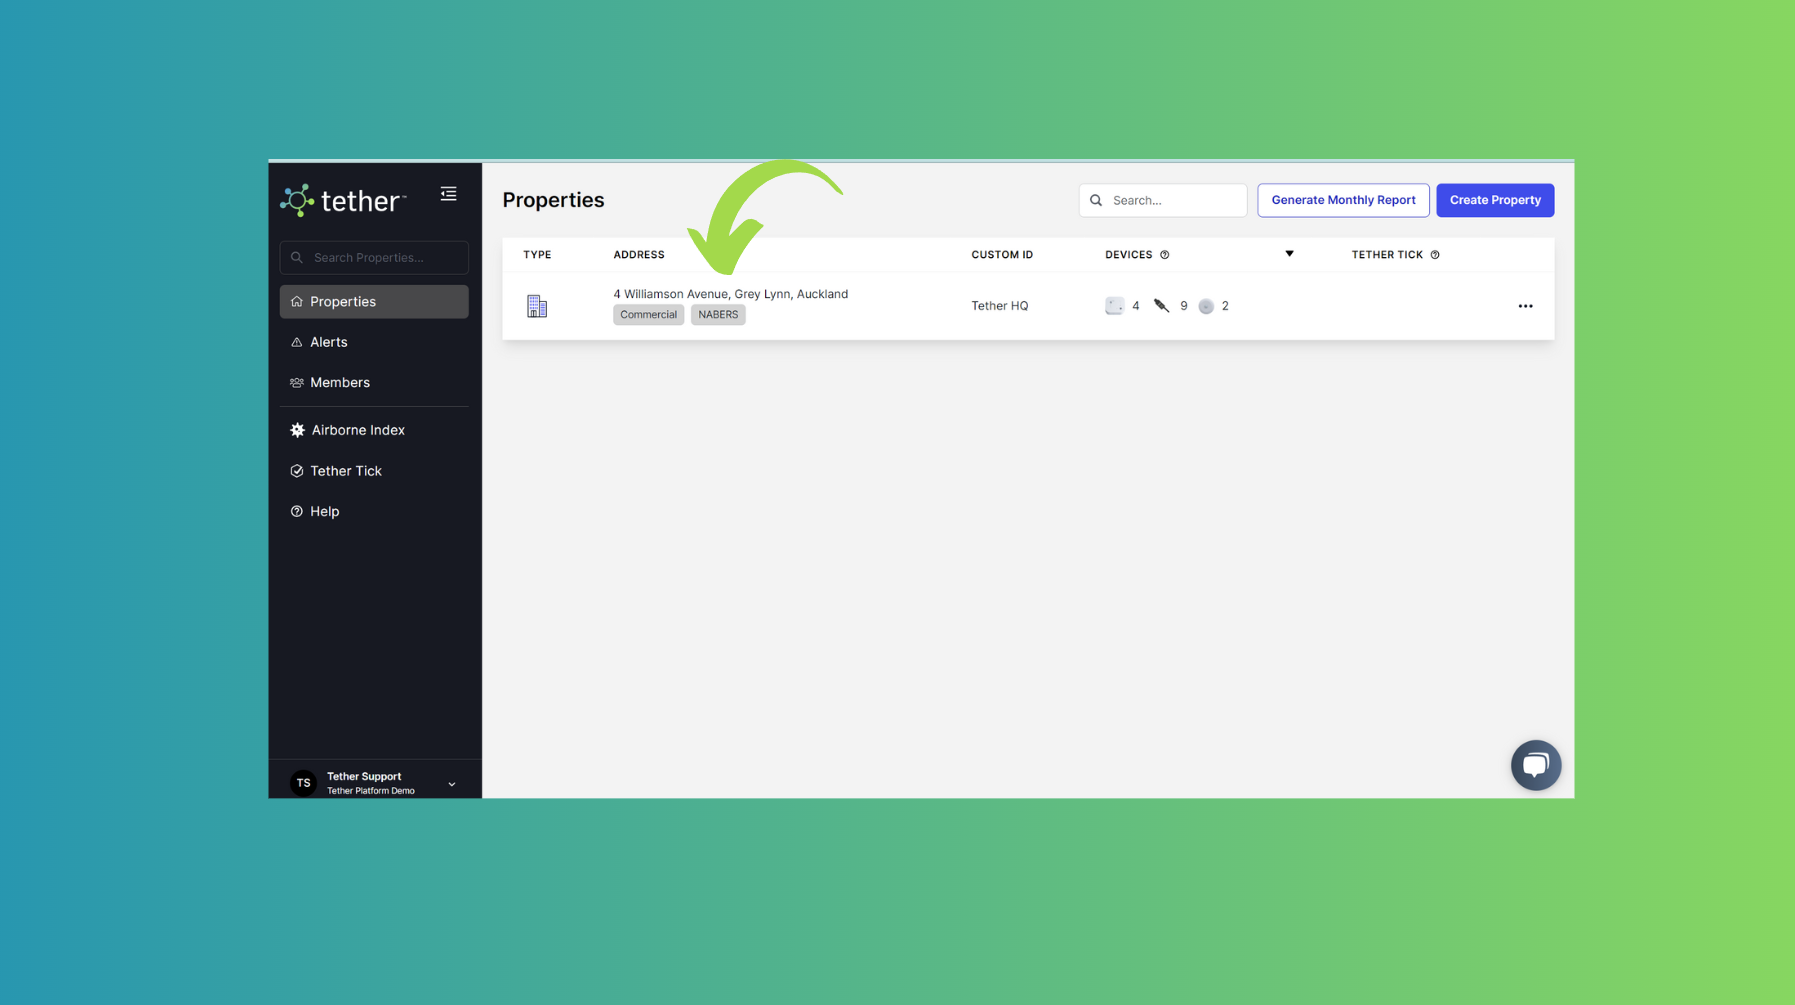
Now, select the property where you wish to carve out a new area for.
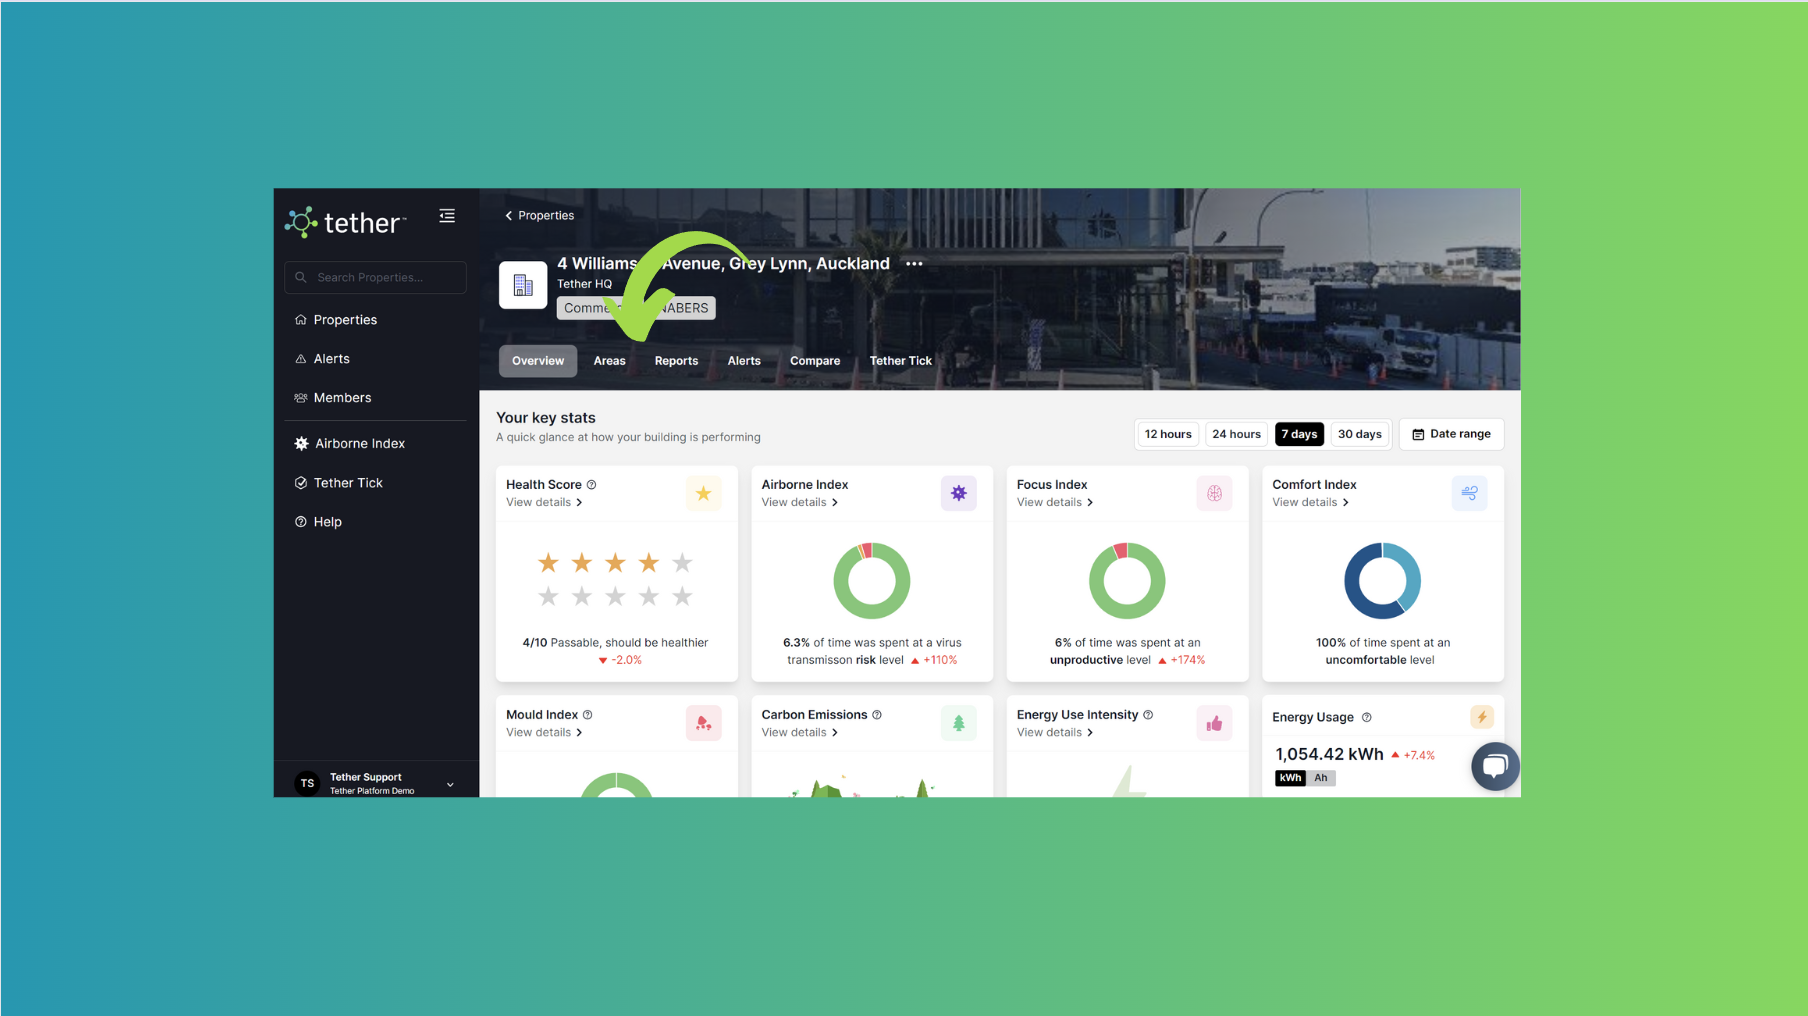
Turn your attention to the top panel and select Areas.
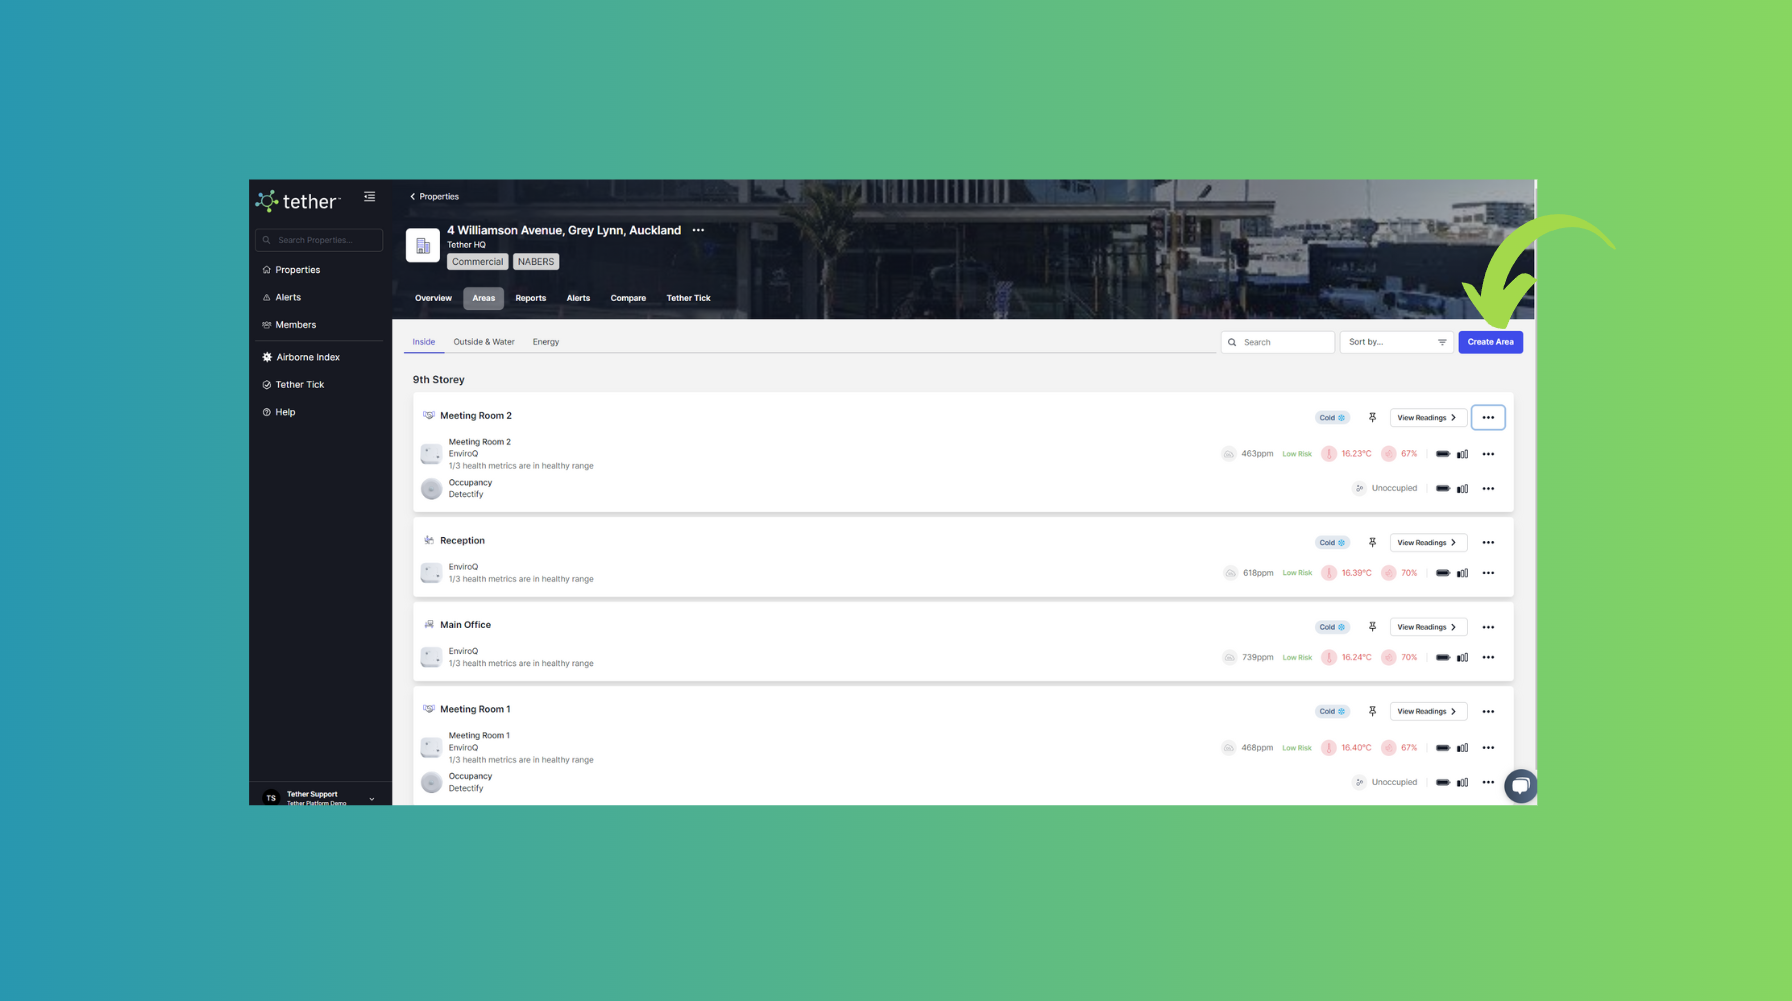
Welcome to your ‘Areas’ overview; this is where the transformation begins.
Eager to create a new area? Click on the button situated in the top right corner.
Now, determine the type of room you intend to establish. For this demonstration, I am selecting 'Bedroom'.
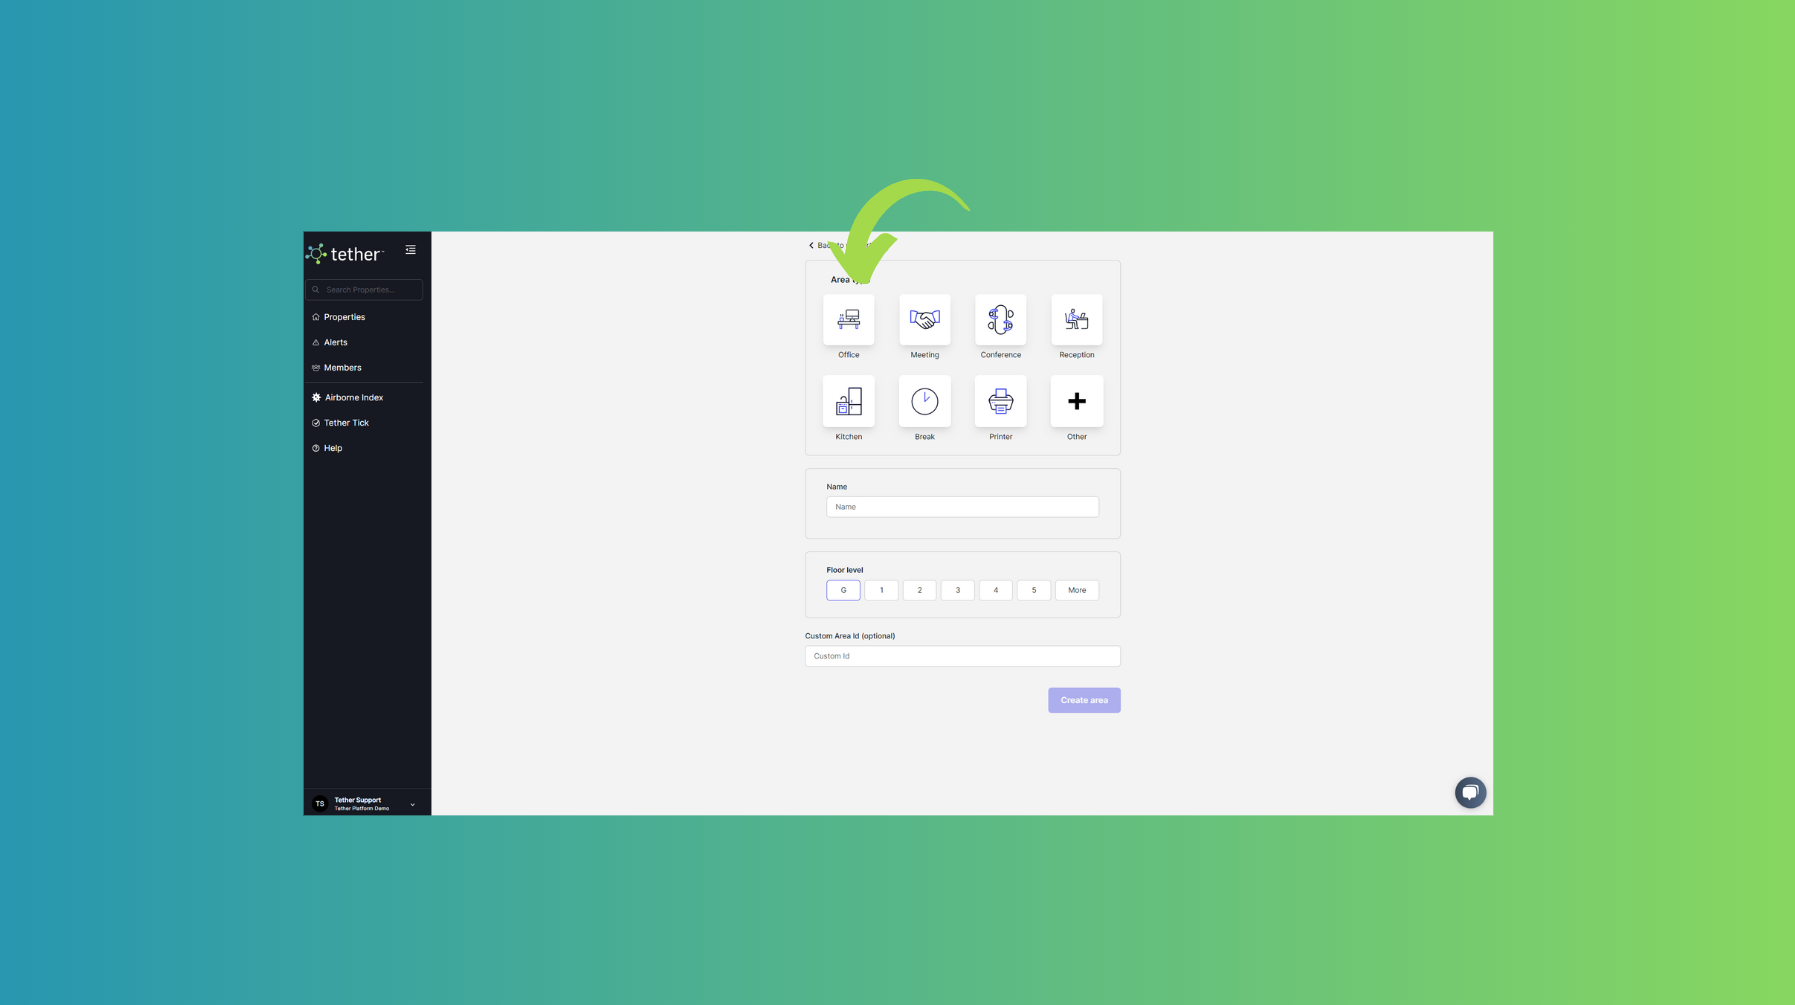
Here comes an exciting part – giving your room a name. I’m naming this space 'Paddy’s room'.
Next, identify which floor of the home this room will occupy. In this case, it's the '2nd Floor'.
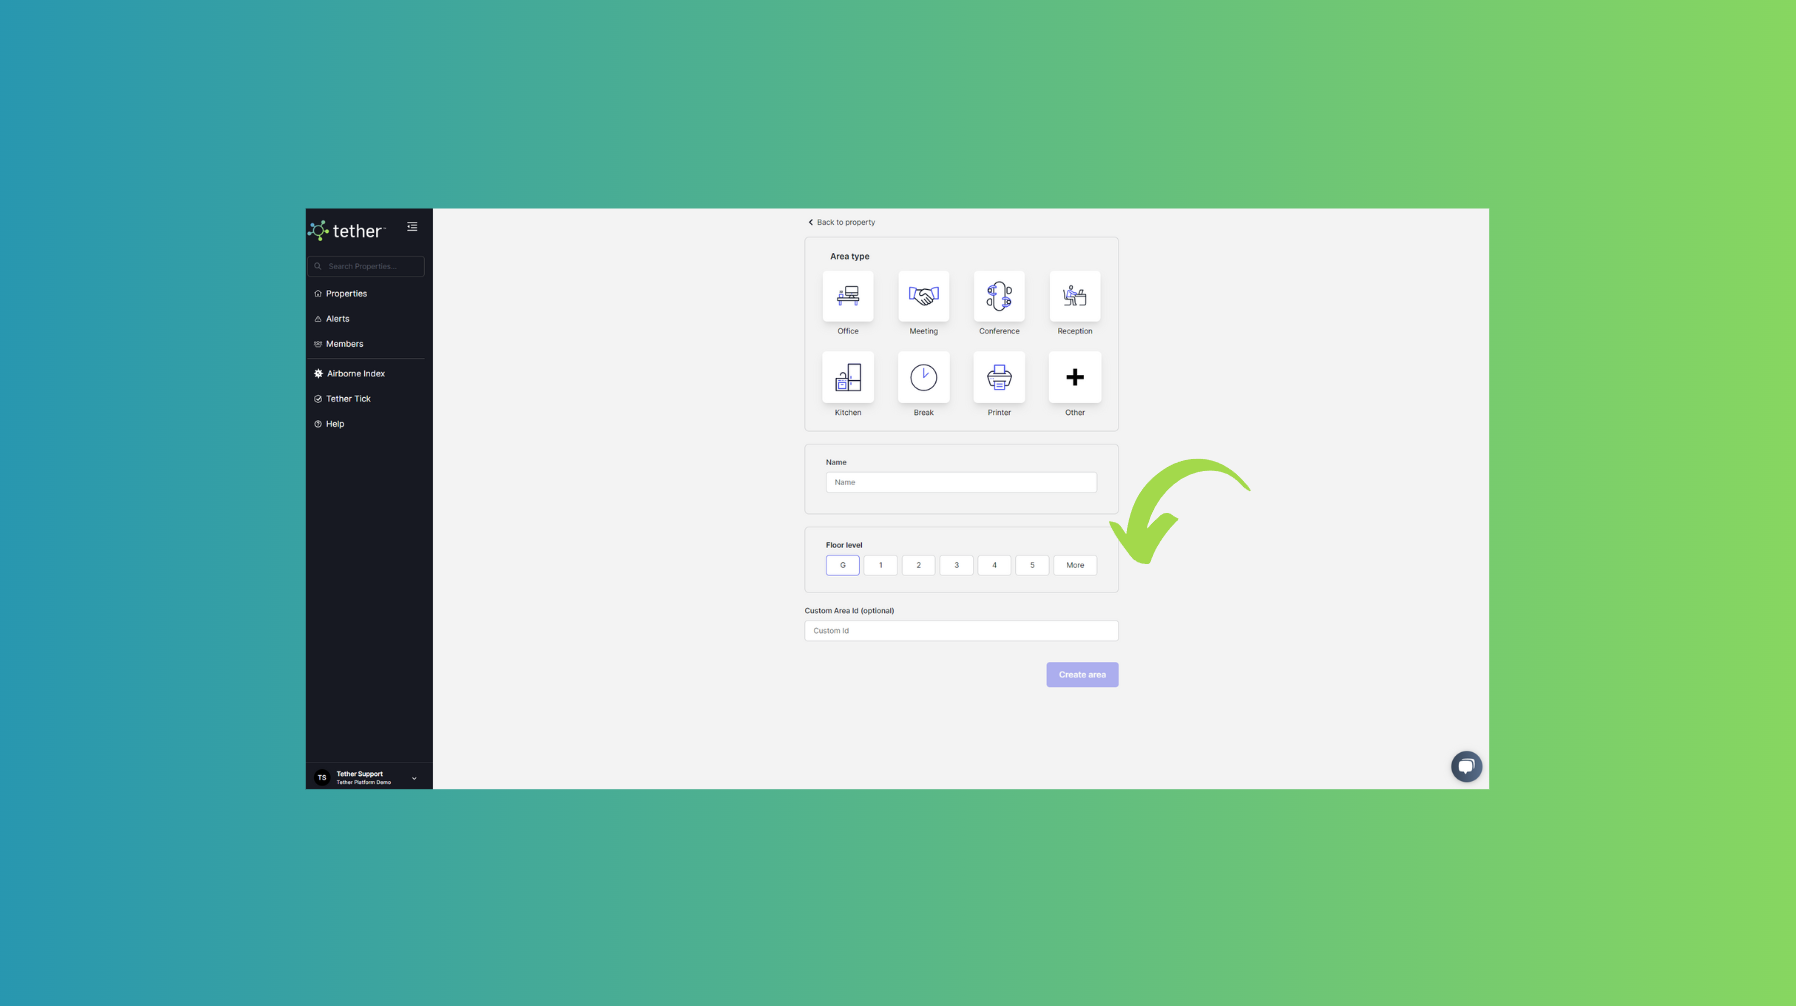
Lastly, activate the creation process by clicking the big blue button at the bottom.
Congratulations, your new area is ready to go! You can proceed to attach and install devices seamlessly.
Stay tuned for more insightful updates. Until next time!
![Tether Primary Logo-01-1.png]](https://partners.tetherhq.com/hs-fs/hubfs/Tether%20Primary%20Logo-01-1.png?height=50&name=Tether%20Primary%20Logo-01-1.png)